When I froze eggs for the first time, I found the yolk had a different texture and felt a difference in the omelet, but not in the cheese recipe or spaghetti.
So, if you’re having a nice egg yield this year and want to preserve them for a long time, freezing eggs can be an option.
You can’t store eggs in the shell for long, but you can free them and preserve them in a few ways.
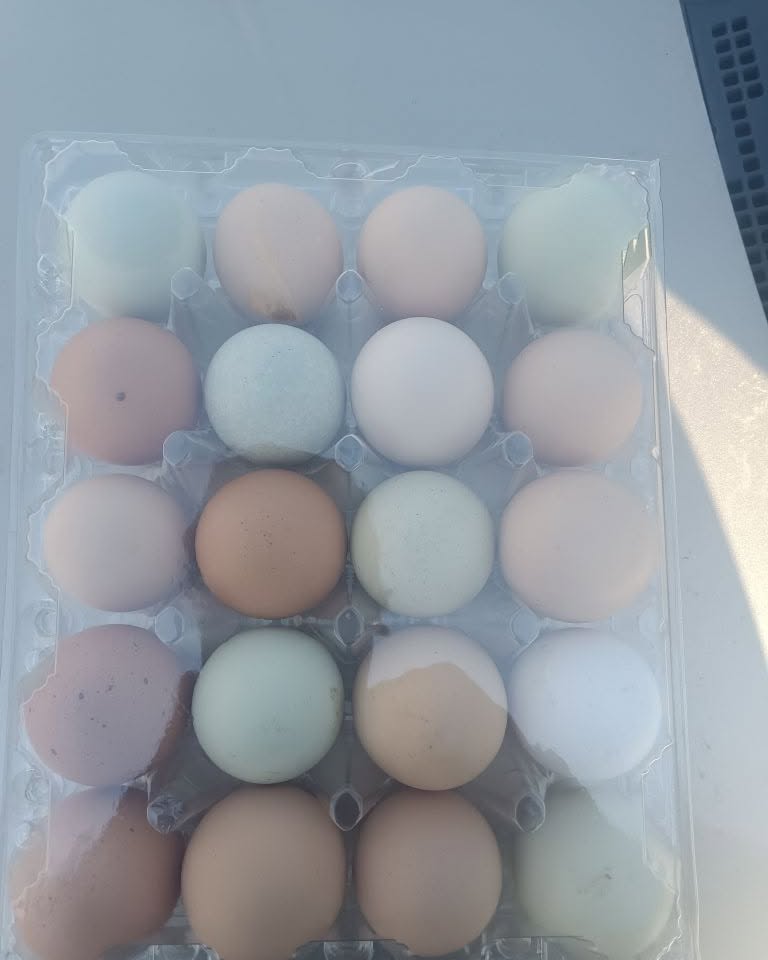
1. Whole Eggs in the Shell
You have nothing to do much here. Only get whole and healthy eggs and a container with a seal or a clip-top container. Put the eggs in the container, close the lid, and place them in the freezer.
The content of the frozen eggs expands, which can crack the shell.
I often put dozens of egg cartons in my chest freezer. Though many suggest not to freeze whole eggs, I have done it anyway, and it works well for me.
Whenever I need eggs, I thaw them and peel them if I have enough time.
It’s no surprise if you know that ice floats on water, as ice expands and is less dense than water. Same case with the eggs.
And you cannot get the shell off the interior or break the egg if the egg is cold and frozen.
But after defrosting, you can crack it open and make an omelet for yourself. Everything is good until you notice a yolk has thickened.
Though the yolk has firmed and isn’t runny in the omelet, it is still soft and pleasant to eat.
2. Whole Eggs with the Shell Removed
For this, you would need sophisticated test equipment or a silicon muffin tray. Other than eggs, you can also use it for various purposes, such as individual portions of fruit pulp, juice, and others.
(I often make and freeze mini frittatas with cheese and veggies in muffin tins. Remember, I bake before freezing. It is a super easy and fast breakfast that you can microwave.)
Anyway, crack open the eggs individually and pour them into the bowl or jug.
Make sure they are good eggs with undamaged yolks. Then, pour them into the mould or compartment of the silicon muffin tray.
Also, rest the muffin tray on the baking tray before freezing. When you try to lift the muffin tray, it is flexible and full of eggs. The chances are high that you can spill them.
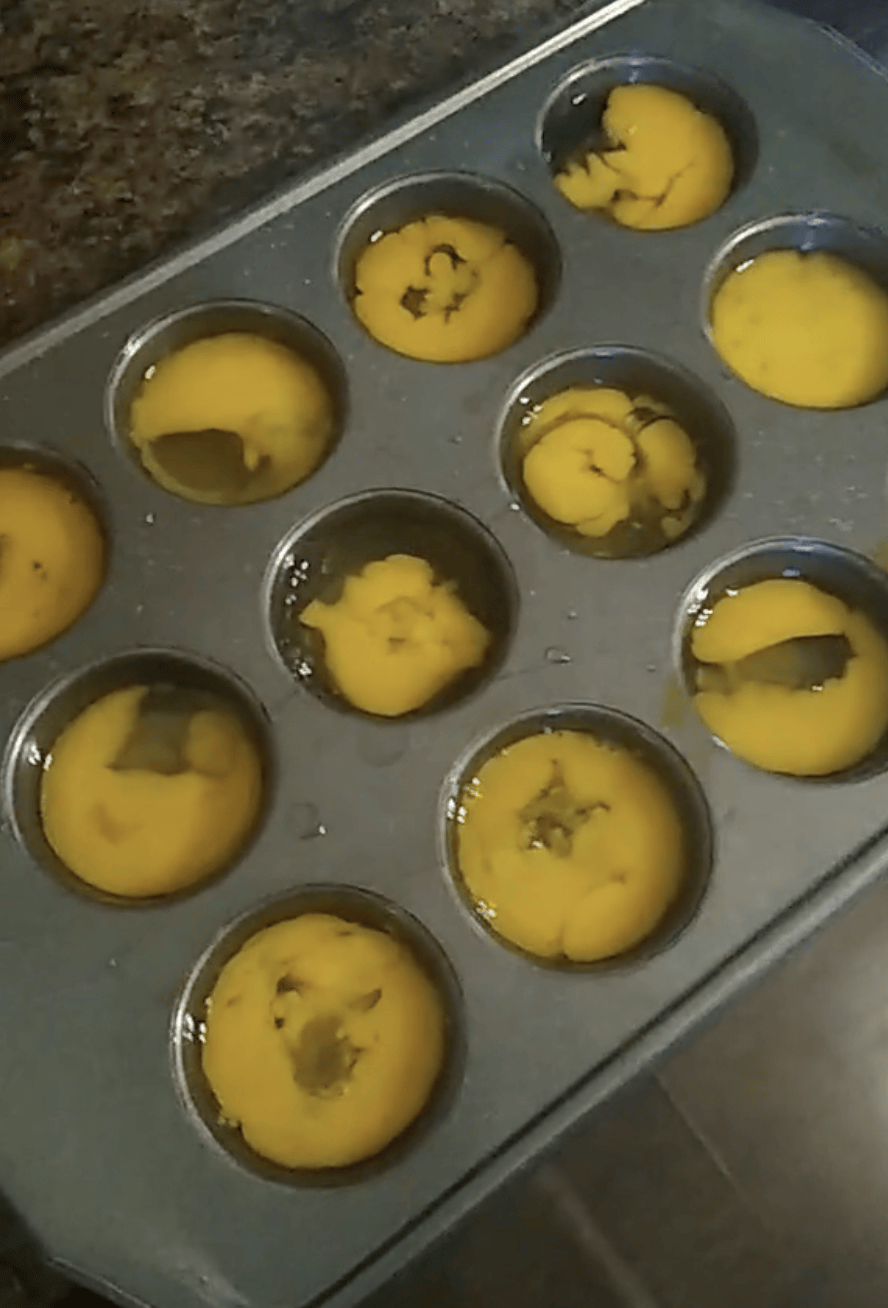
So, the baking tray can help you reduce the tension of juggling exercise.
When you take out the frozen eggs and defrost them, you will notice everything is normal. But the yolks have gone hard due to the process.
But that’s not a very serious source of worry. You can slice it into pieces easily. But if you want to have eggs with sunny side up, a kind of fried egg approach, that’s not going to work well in this case.
Besides, it’s appetizing, and you can eat it as a regular omelet.
3. Whole Beaten Eggs
This time, you need to lightly beat the eggs first after cracking them.
For this, you can use a hand whisk. Stir and mix the eggs and yolks well, and pour the mixture into the muffin tray as described above.
After freezing overnight, pop out the individual eggs in a Tupperware or bag for later use or storage in the freezer.
You can also spray the pan with olive oil to make it easier to work with. I recommend you thaw overnight before using. They help preserve well for about 6 months.
After defrosting the eggs, you can make a delicious scrambled egg. You can’t distinguish between fresh and frozen eggs.
4. Separated Egg Yolks and Whites
Now, you need to separate egg yolks and egg whites individually.
Use a little coiled egg separator, which helps well through the process.
Crack open the shell and pour the eggs into the jug, saucer, or side plate. Take another jug or saucer and pour the egg through the separator.
You will see the yolk stuck in the separator, and the white falls off into the jug. Keep the individual jugs for yolks and whites.
I often do this by juggling backwards and forwards with the eggs between the two halves of the cracked eggs.
Eventually, the white will fall away, leaving the yolk in one half of the egg. You can strain it through your fingers. There are plenty of ways of doing it.
Once done, pour the yolks and egg whites into the muffin trays separately and put them into the freezer.
After defrosting, you will find the yolk has become firm, with an almost jelly-like consistency. But the egg whites are as fresh as usual.
Whip the whites to make meringue or soufflé.
Things to Consider
- Take only non-sticky ice cubes or muffin trays. If not, you can use oil on them to help release the eggs.
- To avoid freezer burn, remove eggs and pit them in vacuum seal bags after they are frozen. This will help increase the shelf life longer in the freezer without being dried out or burned.
- The frozen eggs only take about half an hour to thaw out in the morning for cooking. But I recommend you do it overnight in the fridge.
- You can thaw eggs under cool running water. I don’t recommend you thaw raw eggs and raw meat under warm or hot water, as it can boost bacterial growth.
- When thawing, do it slowly, like you do with any protein.
- Mini omelette or crustless quiche out of preserved eggs makes a great self-serve breakfast.

- Cook frozen eggs all the way. According to the USDA, 160°F/71.1°C is the recommended cook temperature.
Final Thoughts
Freezing beaten eggs is extremely viable, and freezing egg whites, whether beaten or not, works particularly well.
But freezing separated egg yolks means that the egg yolks will become slightly thicker, which can cause many to make a face.
If you want something like baking, that’s fine. But if you want sunny-side-up eggs, fried after freezing, you’re probably going to be out of favor.


Leave a Reply