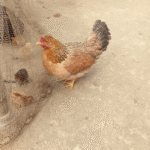
Chickens are susceptible to a dirty, messy enclosure and become unwell within a couple of days due to mites, worms, and respiratory issues.
Also, the healthier they are, the safer they are for table birds. The layers can reduce egg production in a poor coop.
So, you need to keep a chicken coop clean and sanitize it regularly. If you don’t have experience cleaning a coop, here is a guide.
How Often Should You Clean a Chicken Coop?
As long as the chicken dropping is dry and doesn’t smell, the flock is going to be fine for a few more days or weeks, and you’ve plenty of time.
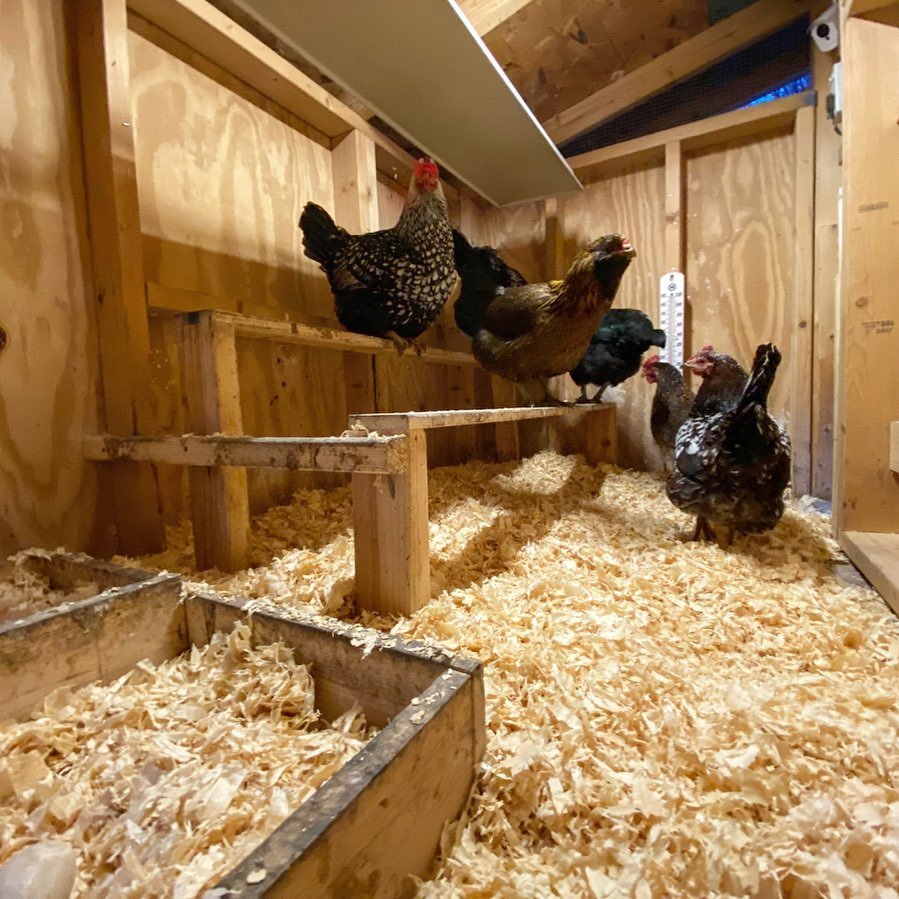
Make sure the manure does not pile up so high that chickens hit the ceiling.
The smaller the coop, the quicker it gets messy and requires more work than a larger one with deep litter.
Besides, if your coop stinks, you’re too late. The time and frequency of cleaning the chicken coop also depend on the number of chickens, the type of coop, the bedding, and the season.
Chickens spend more time in the coop during winter, while they are outside free-ranging in summer.
So, keepers need to take care of cleaning the coop very often in cold months, with daily or weekly cleaning during the winter and monthly cleaning in summer. Also, you need to winterize the chicken coop to keep your birds warm.
But don’t forget, you need to keep your chicken cool on hot days.
You can make a schedule to clean up based on the work or maintenance needed.
Daily
You need to remove droppings from perches or nest boxes. It would be easier for you if you had poop boards covered with PDZ.
Also, take care of your ground vents or exhaust fans and keep them clean every day.
Weekly
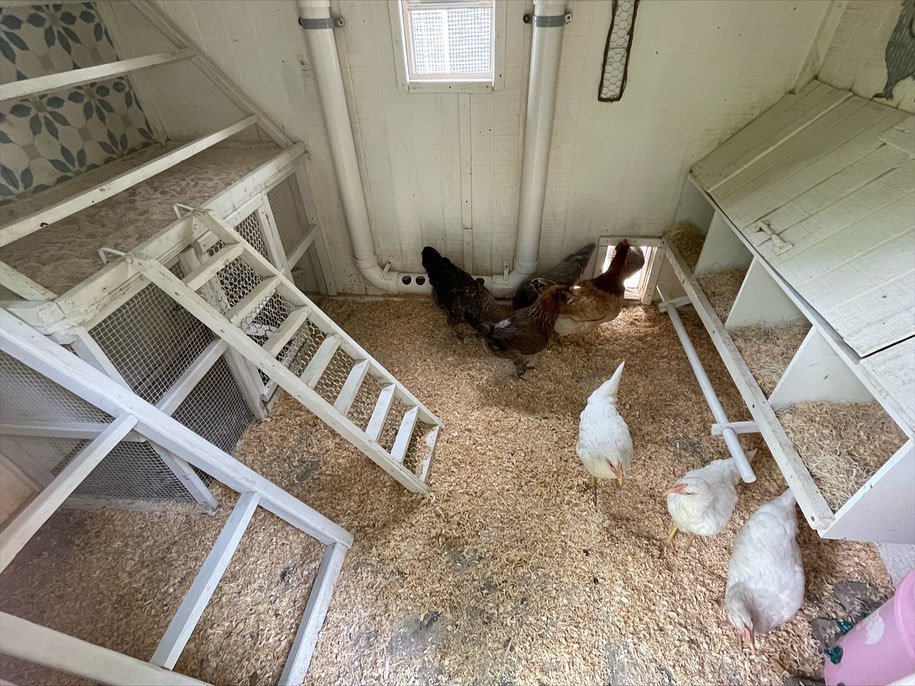
I feel much more at ease working with the coop off the ground.
For weekly cleaning, you can assign yourself to replace or change bedding. Many use pine chips or straw on the floor and nest. You can also add food-grade diatomaceous earth.
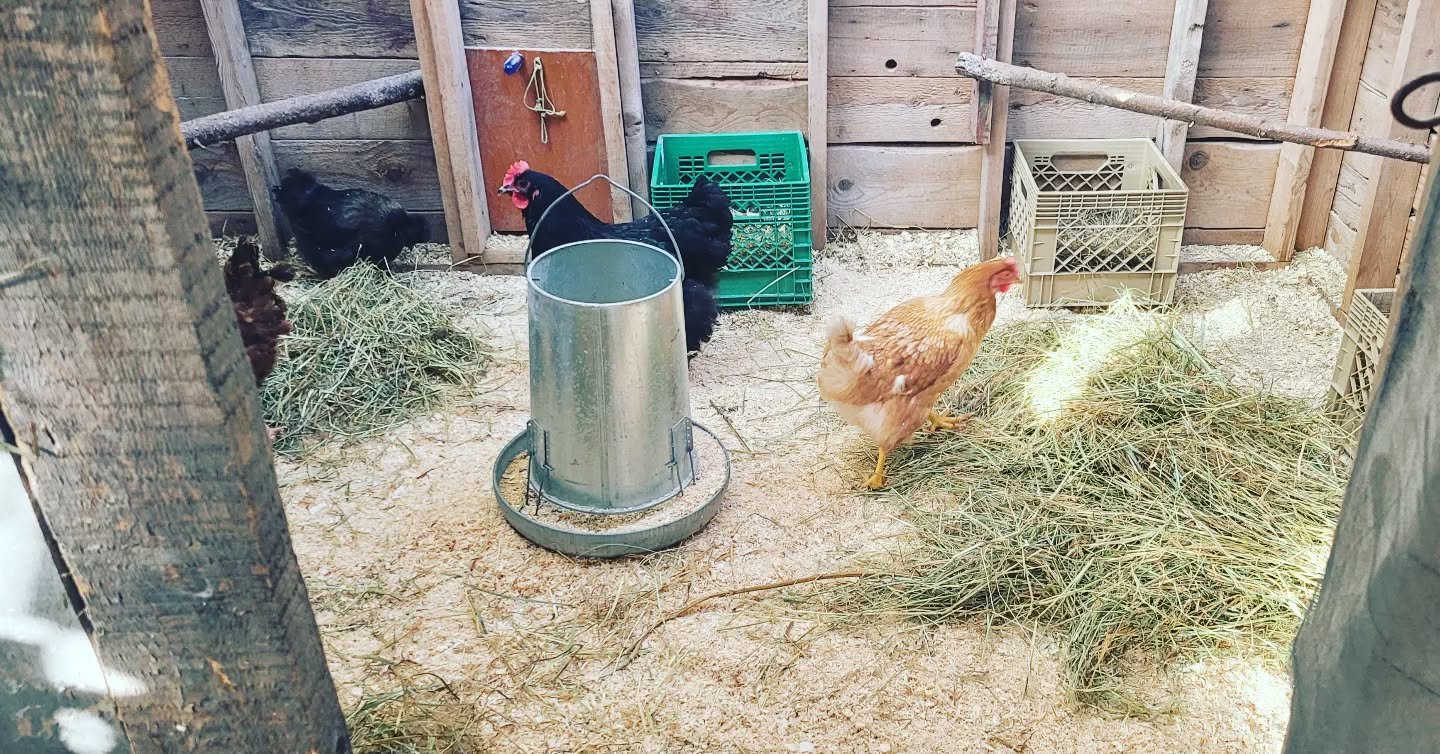
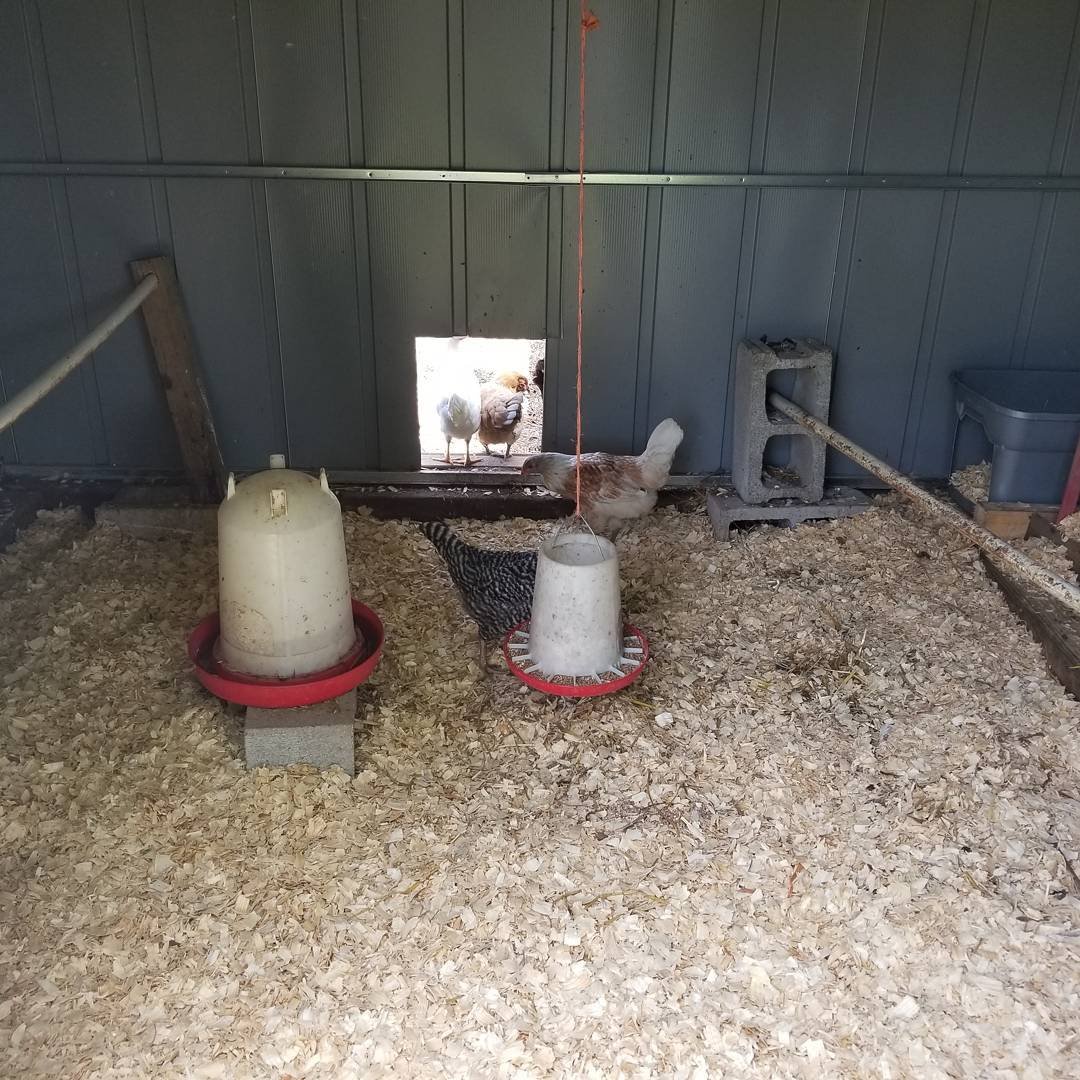
Also, the feeder and waterer can be stagnant with leftover feed and dirt. So, you can change them on the weekend.
Deep Clean
Deep clean means cleaning the whole coop inside and out.
You can clean the chicken house completely a few times a year. Probably, it works well once in winter and as a monthly job in hot, humid summers.
Many have a routine to sweep out and replace the shavings once a month, fully after raking out the entire coup.
Once you have finished collecting eggs, you can do it sooner if you feel it is necessary.
If not, you can take everything out and hose down the entire coop, roosting bars, and nesting boxes once every quarter. Scrub the coop floor with a deck brush and use fans to make it dry.
Once 4 – 6 or 6 – 12 months is also fine until your chickens are healthy.
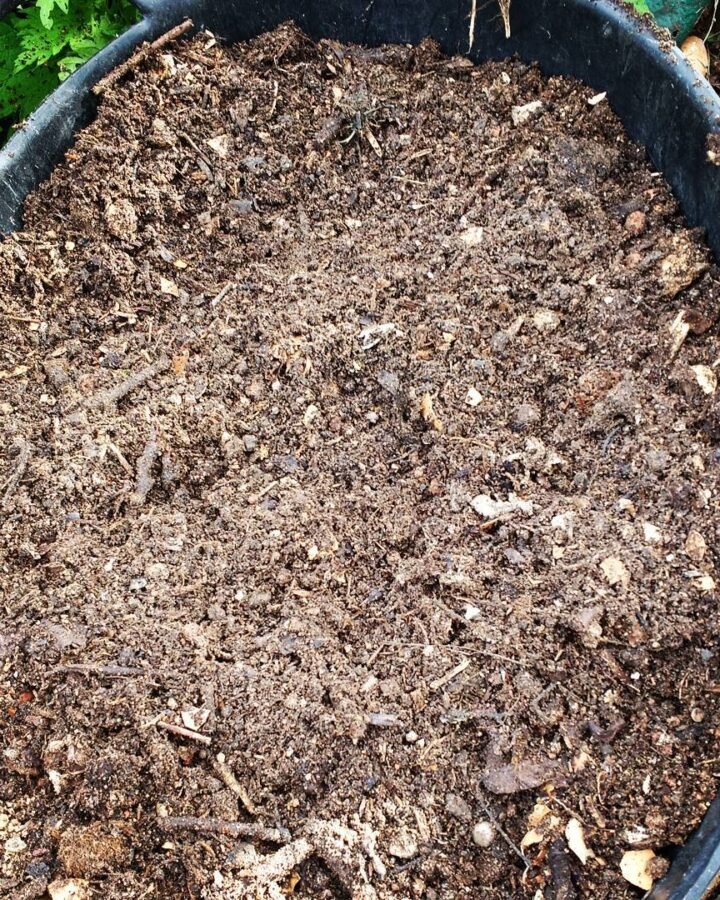
Pull all the bedding out and pile it up to complete decomposition for the next 6 months. Then, you’re ready to grow it to the backyard garden.
Tools & Supplies You’ll Need
You must have gloves, a face mask, a scraper or shovel, a stiff brush, a bucket, mild soap or vinegar, and a water hose.
Based on maintenance needs, you will also require a rake, a broom, a feather duster, paint, a paint brush, a paint scraper, and new bedding.
To make your coop odor or smell free, use diatomaceous earth and some natural coop fresheners such as herbs (lavender, rosemary, calendula, mint) and limes.
To keep your coop eco-friendly, avoid using harsh chemicals or bleach.
Instead, you can get natural solutions such as
- Vinegar solution, which is cheap & safe for chickens
- Baking soda scrub for tough spots
- Essential oils such as tea tree, lavender (use sparingly)
Step-by-Step Guide: How to Clean a Chicken Coop
Keepers have their own way to clean a chicken coop. For example, mostly prefer the deep litter method, in which you need to add new bedding on top (3-4″).
Whenever I had to open the side of the coop to collect eggs, I would take a big whiff. If it smells of poop or ammonia, I throw a thin layer of shavings of pine on top.
Then, you need to clean out the coop thoroughly a couple of times per year (every spring and fall).
The litter and poop inside take only a short time to finish in the compost pile and are ready to go in the garden.
Anyway, you can start off with the steps below:
Step 1: Remove Chickens
Before cleaning, remove chickens from the coop and safely move hens to a run or temporary pen.
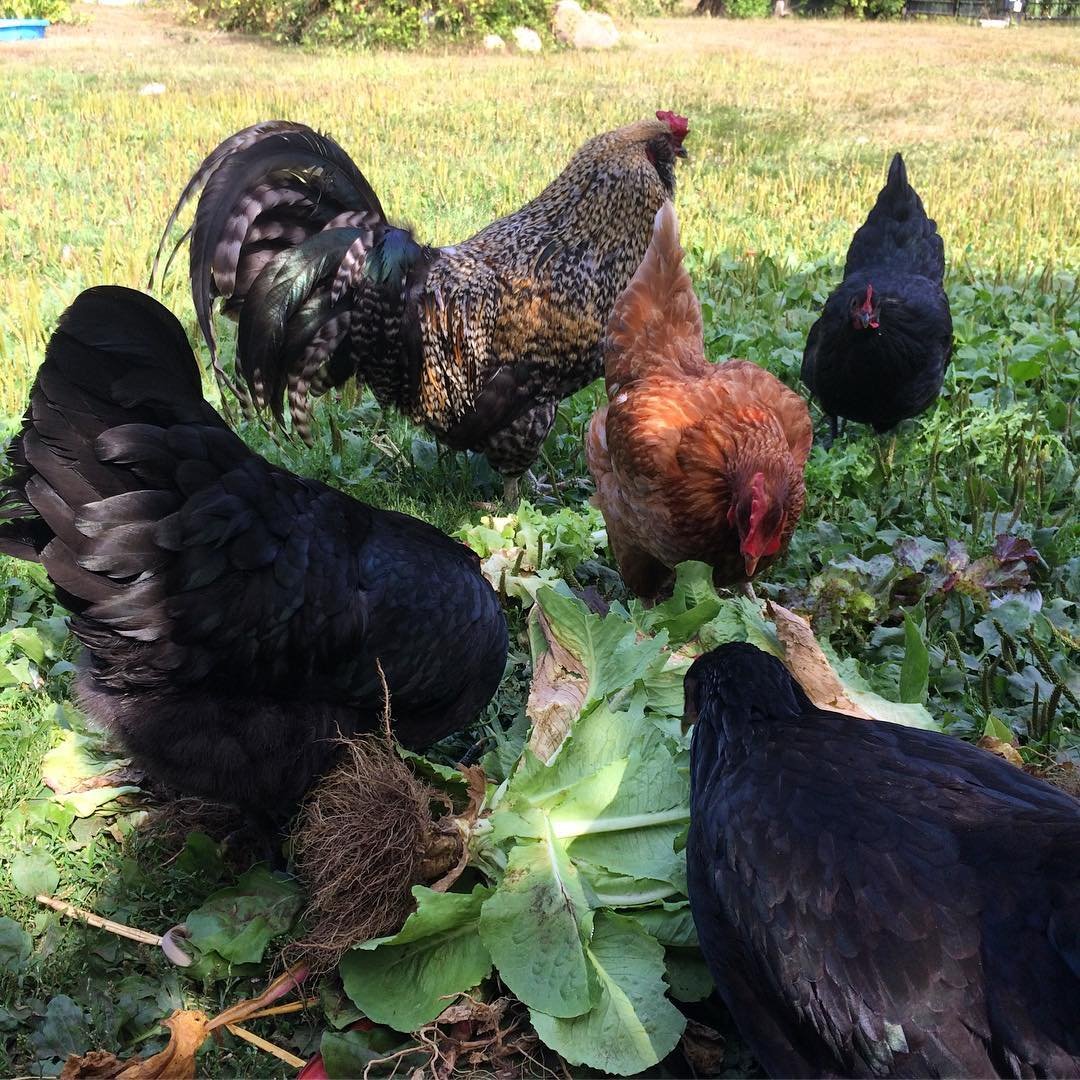
If they are free-range chickens, you need not do anything.
Also, take everything out of the coop, including feeders, waterers, chicken toys, nesting boxes, enrichments, decorations, dust bath, and roosting bars.
Place these near the coop.
This helps reduce stress and accidents, making it easier to work inside.
Step 2: Clear Out Bedding & Waste
First, take command of cleaning inside with bedding and chicken wastes.
Sweep all the bedding and take it outside, gather it into a pile with a broom. Remove soiled straw or shavings. And make sure feathers, dust, and cobwebs are all out in the pile.
Take a flat metal shovel or a scraper to scoop out all litter, solid poop, and debris from the floor. Toss it into the pile.
Dry droppings stick on the walls and corners, so you need to use a stiff scrub brush to loosen them and remove them. If not working, use a paint scraper.
Now, scrape droppings from roosts, nest boxes, and waterers and feeders outside. They have algae buildup and mold.
Step 3: Wash & Let the Coop Air Dry
After removing dirt and waste, I enjoy washing the coop with a pressure washer. The garden hose with a spray nozzle also works well, and you can direct water at the walls, ceilings, floors, and ramps.
This helps wet the surface, making. It’s easier to remove the waste residue.
Then, scrub the surface with a stiff brush. If some places have tough stains, pour a solution, adding all-natural cleaners such as vinegar and biodegradable soap to the water, and mix them thoroughly.
Wait for at least 10 minutes before rinsing the surface.
Throw hot, soapy water on nesting boxes, perches, and hardware. Also, direct the hose to the exterior of the coop and ramps to clean out the gummed droppings.
After washing, let the coop and essentials air-dry. Open all the windows and doors.
The coop with rich ventilation does not take time to dry and clean.
Step 4: Disinfect the Coop
After washing and drying, use a poultry-safe disinfectant to control pests or bugs such as mites, worms, lice, and flies around the coop.
Apply diatomaceous earth in cracks, crevices, nesting areas, and high-touch areas.
You can also try natural disinfectants, including hydrogen peroxide solution, citrus peels boiled in hot water, and diluted vinegar.
Make sure you allow the disinfectants to sit for at least 10 minutes before rinsing thoroughly with clean water. Don’t use pooling liquids.
Step 5: Replace Bedding and Return Chickens
Use the deep litter method or the deep bedding method. Throw layered carbon-rich bedding or fresh shavings or straw.
You can also use hemp or sand, depending on your choice. The bedding should be 4-6 inches thick on top. You can also put herbs such as mint or lavender for their odor- and pest-deterrent properties.
I find sand encourages layers to sit around the nest and produce eggs.
Now, it’s time to get all the hardware and coop essentials back in the chicken house.
After installing all, I sprinkle food-grade DE powder in nests, roosts, and the coop floor every month to keep mites away naturally.
Then, you can call your chickens to the fresh, clean, and aromatic coop.
Pro Tips for Easier Coop Cleaning
- Install droppings boards under the pearches so that you can easily access the waste.
- Use kay Kob bedding or sand in the coop for low-odor, easy maintenance. I often throw citrus peel in the coop before I enter.
- Keep the coop well-ventilated to prevent a humid environment and ammonia buildup.
- Rotate bedding instead of replacing all at once. Toss and flip the bedding when the top is full of litter and waste.
- Don’t enter the coop with bare hands and face. Always wear a mask, gloves, and old aprons.
- I often play upbeat music to encourage myself when cleaning the chicken coop.
- Keep the food off the floor and clean it regularly if you have some time available.
Final Thoughts
It’s tough to buzz around when your house is next to the nasty-smelling chicken coop. That’s what your neighbor can complain about.
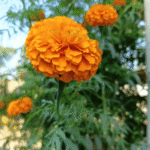
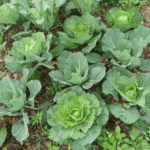
So, you can plant herbs and flowers all around the coop to reduce the odor. It doesn’t spare you from cleaning the coop, but somehow makes the surroundings easier.
You need to clean a chicken coop on your own, at your own schedule.


Leave a Reply