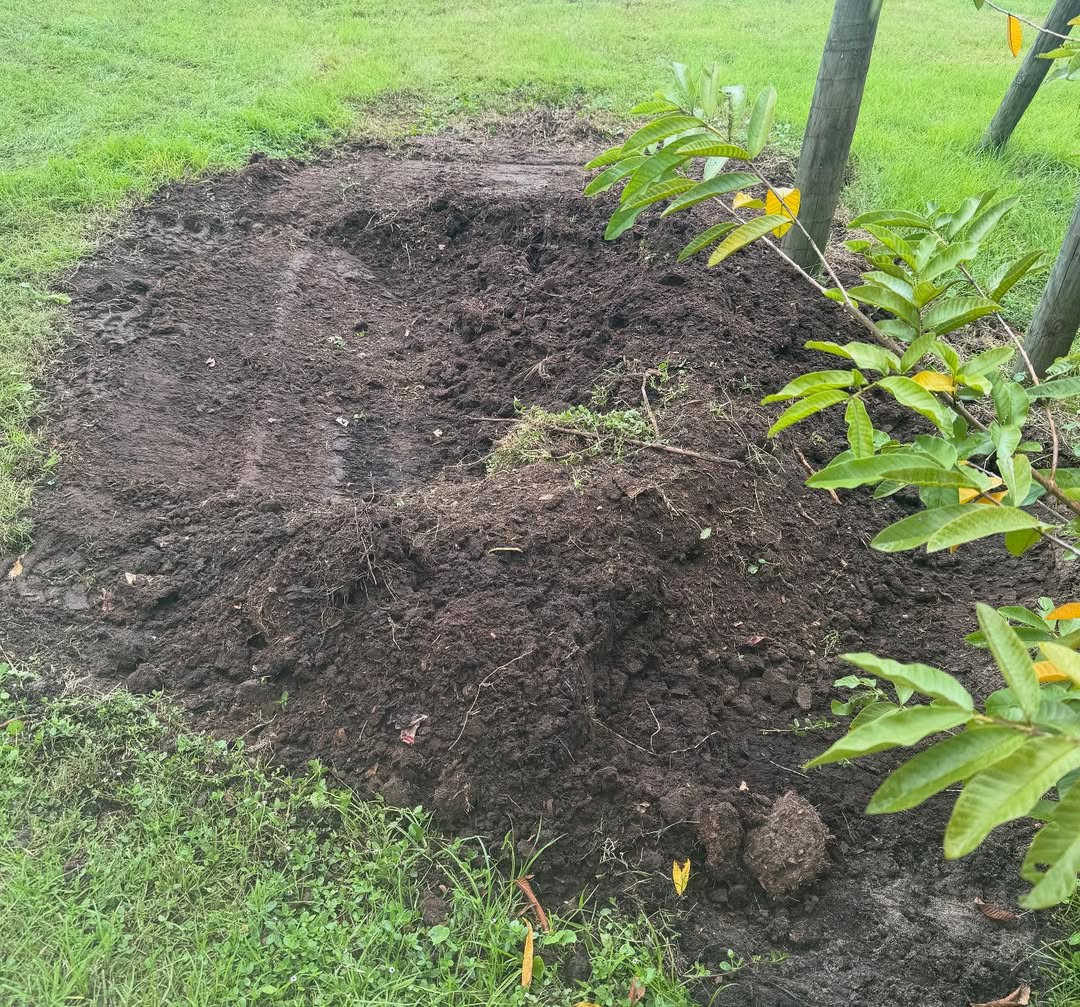
Every year, I collect chicken manure and dump it on the garden waste, and let it compost there all summer.
Then, I throw that in the backyard vegetable garden and till it in the fall. There, I plant a cover crop on it over the winter and replenish the soil in the spring with another heap of compost from the chickens.
If you’re wondering about the chicken waste, let me guide you through the making of rich compost from your birds.
Before You Start
1 hen can create around 1 cubic foot of manure every 6 months. Even if you have only 6 chickens, they can easily generate 12 cubic feet of manure in a year.
You need to know that the chicken coop contains bacteria, including Salmonella and others. And you also have noticed that your nose hairs could burn when you enter the chicken coop without a mask.
That’s because their fresh litter produces a large amount of ammonia. So, chicken manure has high nitrogen, soluble salts, and browns, which can burn your garden crops if thrown there directly.
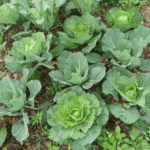
Don’t put it in the growing soil immediately, and avoid using it on leafy or soil contact crops.
Also, this makes it difficult for beneficial microorganisms to break down the manure.
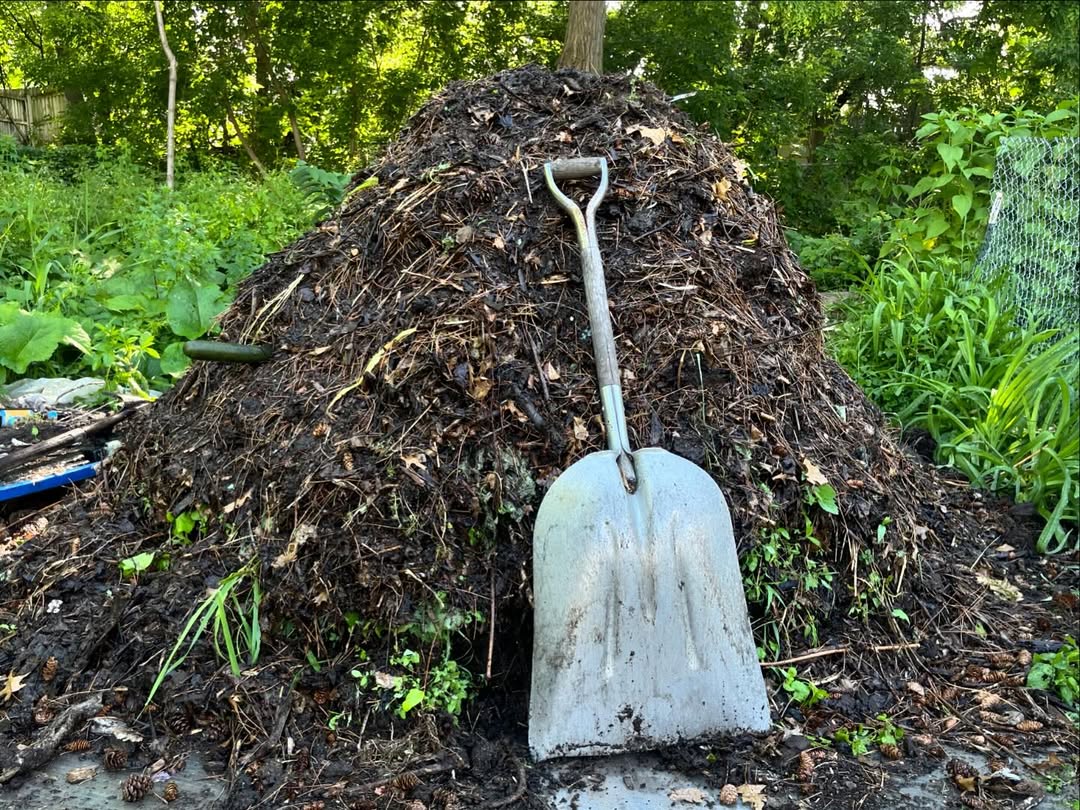
If you want to manage it, you can dump it in the unused areas of the garden in the summer. It may take a couple of months to heat up, rot, and break down.
Besides, you can also plant the cover plants to get the manure to rot and make sure it’s ready for other plants or crops.
For me, chicken tractors are a solution maker, which I move into the fresh grass daily and pick up the big chunks with a scooper. This is only a 5-minute schedule, so the grass doesn’t dry out with the temperature.
You can keep your coop in one place for a year and relocate it to a new area the following year. Plant corn, beans, and squash there as they can thrive in nitrogen-rich soil.
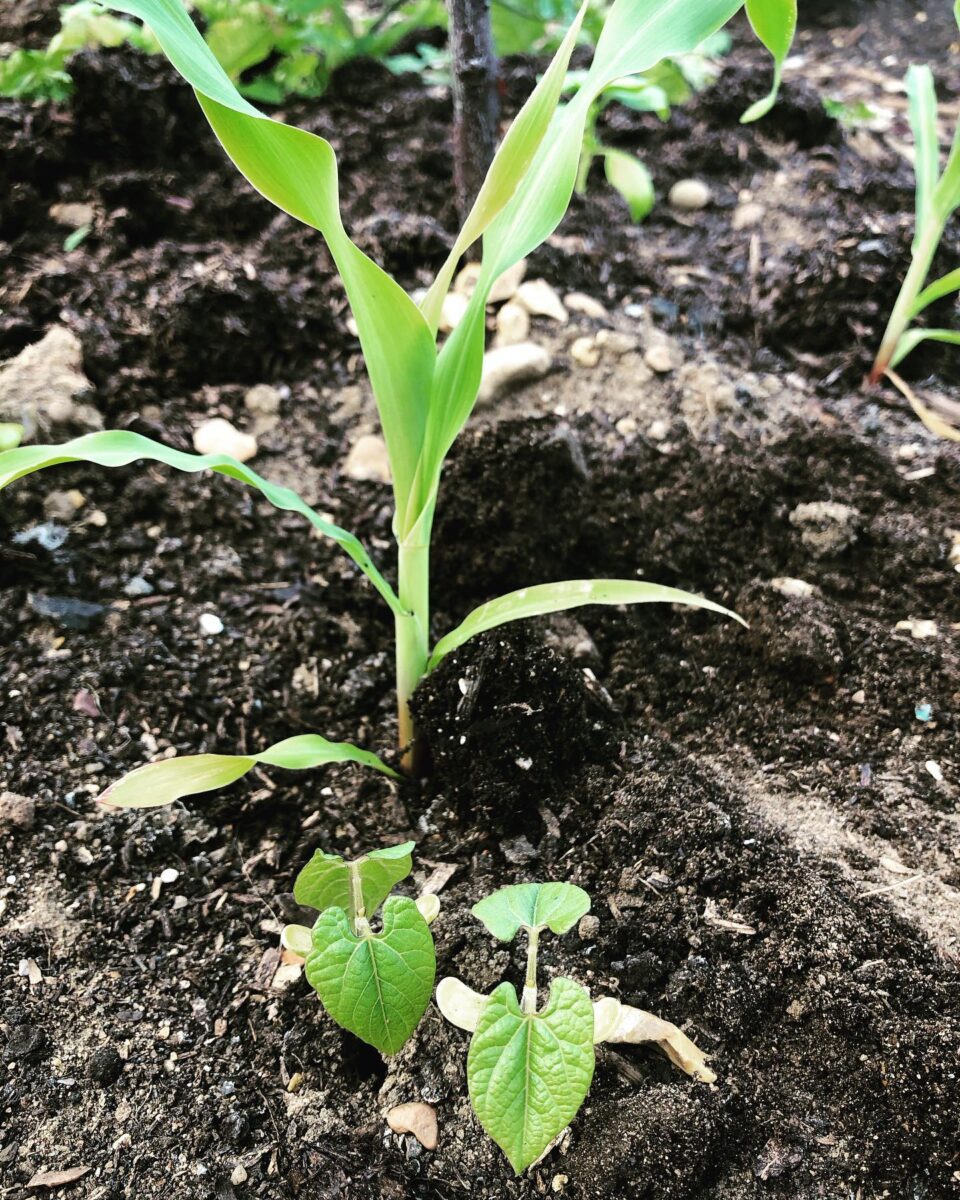
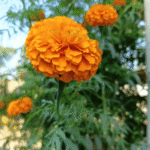
Then, your garden will get a balanced soil next year for all types of crops. You might then want to grow a flower bed.
It really helps plants uptake the phosphorus, especially in alkaline soil. You’re good to go with the half inch to an inch around the base of your garden plants. You don’t need a whole bunch of compost; they are rich enough.
Materials You’ll Need
Greens and Browns
While green materials are high in nitrogen, browns are carbon-rich matter. In simple terms, you can understand that greens refer to green leaves that are fresh and with moisture, and browns are dry leaves.
Green materials include chicken poop, garden and kitchen scraps, fresh grass clippings, hay, and other homestead animal manure. I’m not counting on cat or dog feces.
And some brown materials are wood shavings, straw, dried leaves, corn husks, dried pine needles, and cardboard.
Bedding materials
I’m talking about straw, sawdust, and shavings. Pinewood shavings have volatile oil that makes the whole coop smell like Christmas trees.
The non-woody, fine particle-size brown also breaks down quickly.
But you should avoid larger wood chips, sticks, or denser woody materials.
Compost bin or pile area
I think you need to consider the common size for the compost bin. If you’re using 5 gallon bucket of chicken waste, you would require 2-3 five-gallon buckets of brown materials.
You can use pallets to make bins, and if not, you can also do it on the open ground.
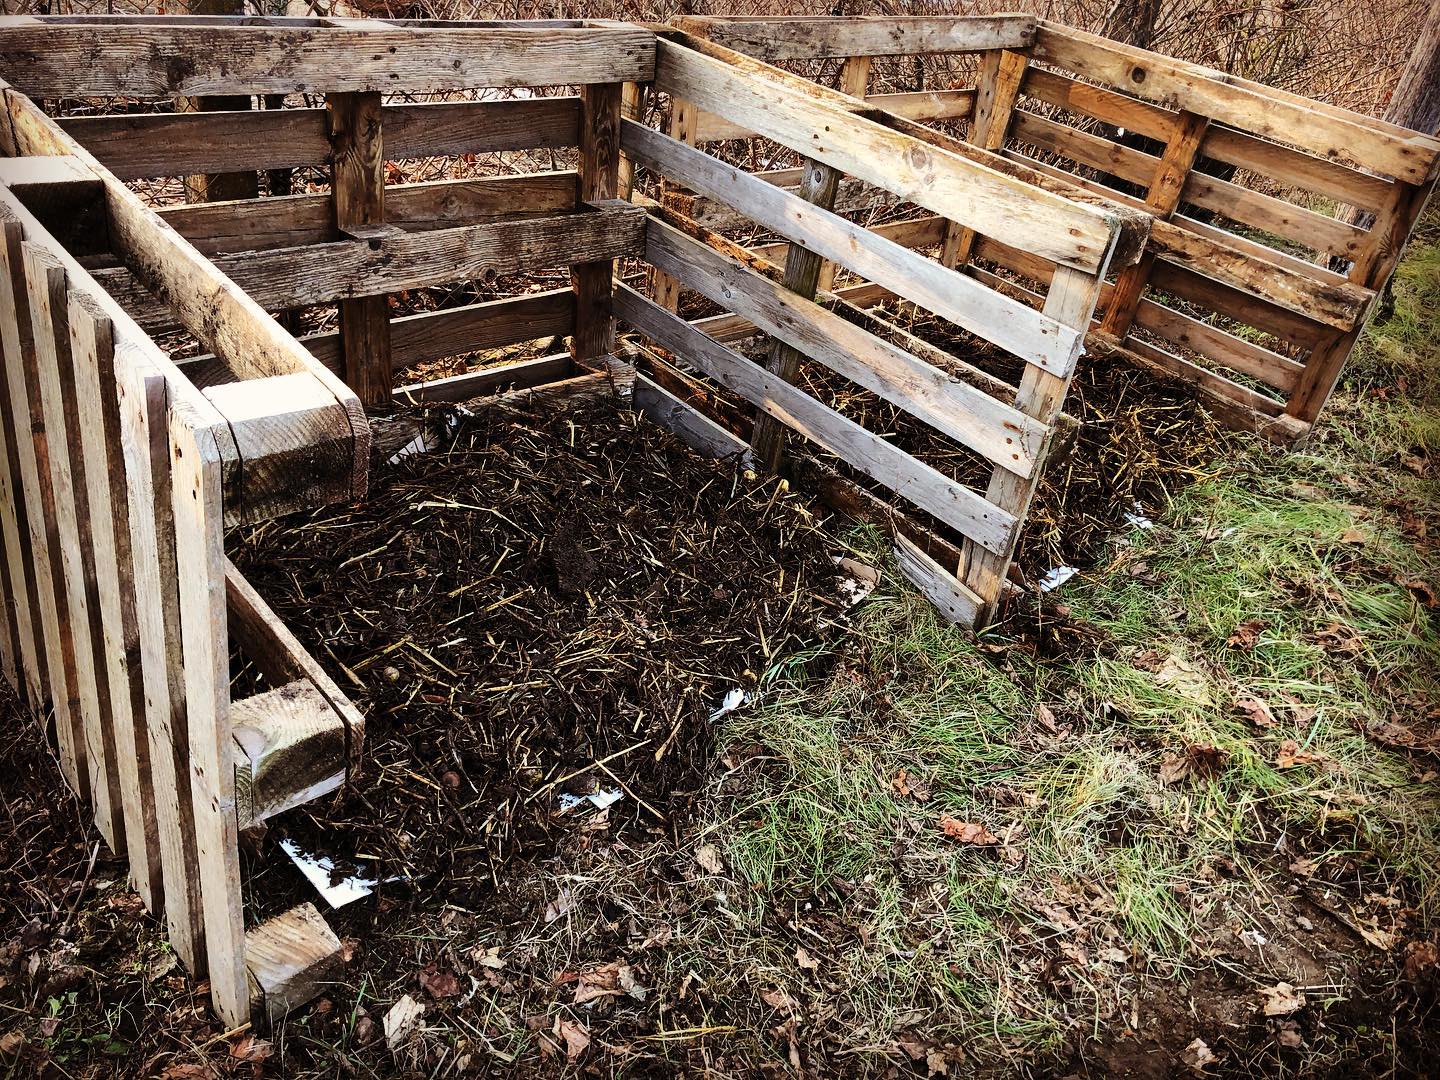
Before you dump your livestock manure, you will need some vacant space for composting. Choose an area that is large enough to contain the bins or manure.
If you’re in a rainy region, make sure you cover it with something waterproof or a tarp, as the water can flood the manure juice away.
So, all the ingredients may leach out, and it’ll be super soggy and really smelly. Also, the place should not be too hot, as it can cause the moisture to evaporate and dry out the manure.
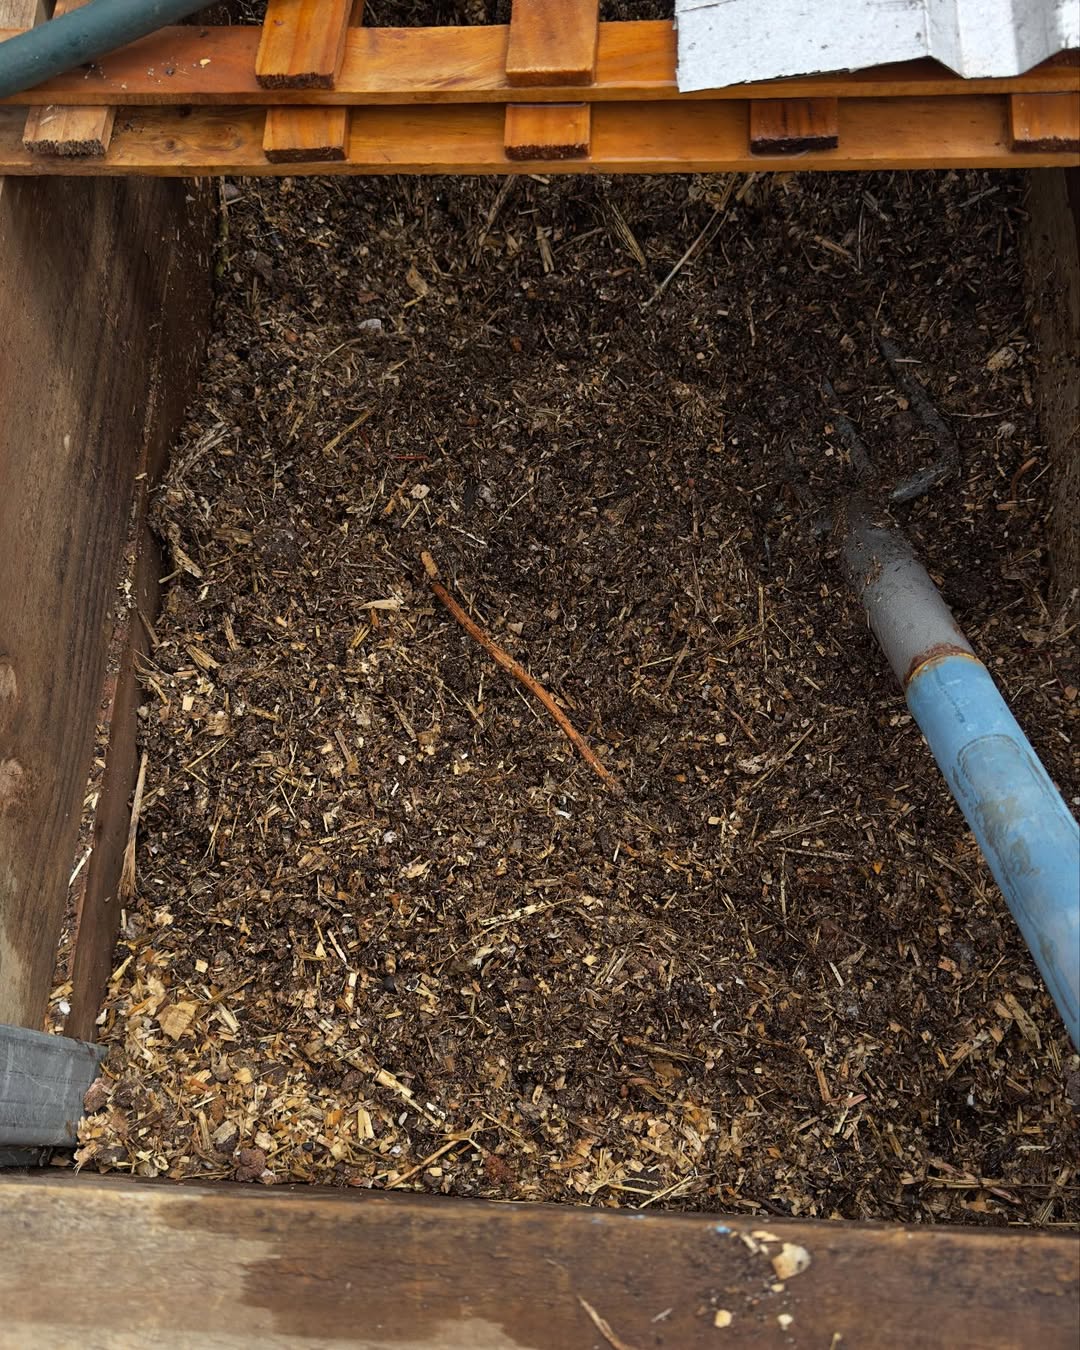
Pitchfork and shovel
You want a pitchfork to mix and flip the manure and composting materials, and a shovel can help you collect manure and prepared compost.
Besides, they are necessary for gardening.
Thermometer
You can opt out of this device based on your requirements. If you’ve already done it for years, you may have a quick sense of heat and smell when preparing the compost.
But for beginners, a thermometer can really help determine the correct temperature of the compost pile. If not, it’s going to be longer for the manure to break down and get the nice compost.
This Way I Compost Chicken Manure
Many would pile chicken manure up over time, like other home compost systems. They don’t bother with the heat and allow it to age naturally. It’s not that different from the deep litter method, but you need to move it first.
But I’m going to take you through the easy and quick way to build a rich compost for your backyard garden.
Step 1: Collect manure and bedding regularly
You’re going to get around 60% throughput, 600 lbs of droppings from 1000 lbs of feed from the chicken coop.
When cleaning your chicken coop, remove the poop from the roosts (placing cardboard under makes it easy to collect), nesting box, and floor. Also, don’t forget to collect it from the chicken runs, where you can get fresh manure.
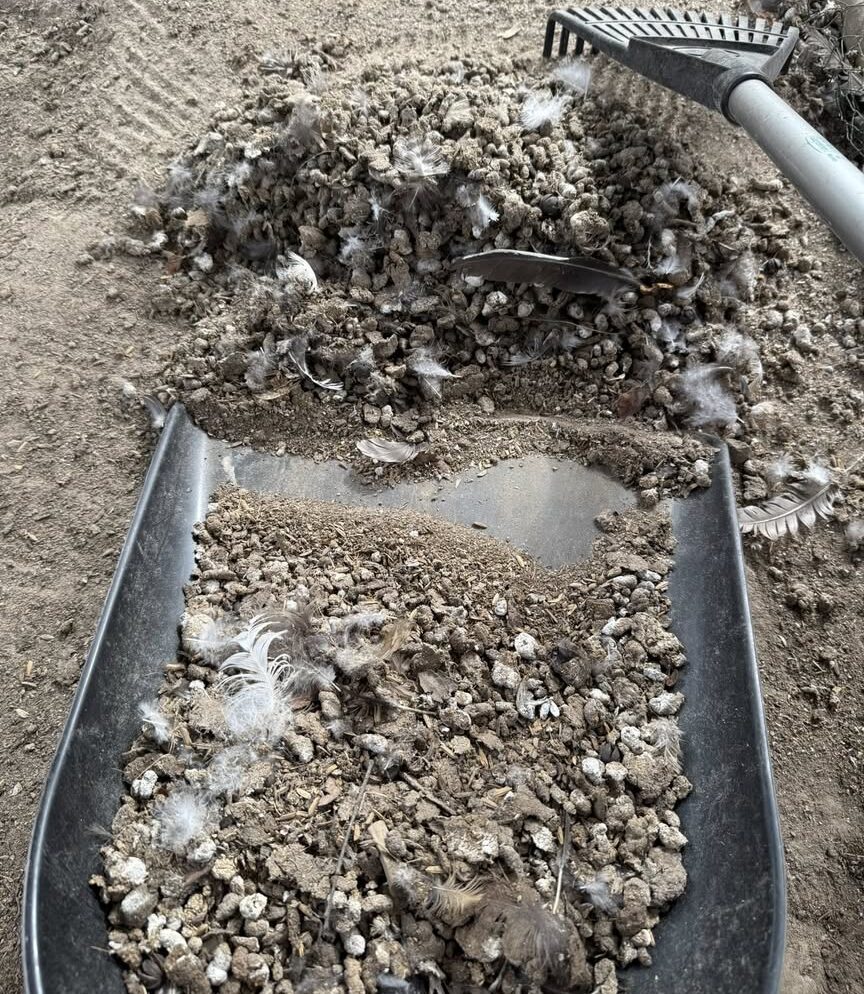
Combine bird droppings and bedding for a balanced start. If you’re doing the deep litter method, they are already mixed, and the chickens themselves do it without effort and help break down manure in the coop.
For this, you need to lay new pine shavings or other materials on top of the old litter and layer or turn over those shavings as your main bedding.
Anyway, you can mix the manure and bedding in the yard on the tarp (there you need something to cover the floor and help you tug on.)
Step 2: Choose a composting site
Choose the place that has enough shade and good drainage facilities. Make sure it is distant from your residential area, preferably located in the backyard or garden.
I suggest you get a 3X3X3 ft cube atleast. The larger, the better, 5X5X5 ft is really good as the mass size allows the pile to heat up. It contains sufficient materials that stimulate the temperature to rise so that composting speeds up.
Step 3: Layer materials
Alternate greens (manure) and browns (leaves or straw) to make a pile. The typical ratio could be 1:2 or 1:3 greens to browns, but it varies depending on the materials.
Chicken litter is a high-nitrogen supplement, so you need to get away with heavier browns (double) to greens.
The dried/shredded/mulched leaves are best for breaking down and for plant nutrients.
Step 4: Keep the pile moist, not soggy
If you have a place to keep it dry until it accumulates enough to make a large pile, such as a barn or shed, it won’t begin composting. So, you need to get it wet.
The dry manure often repels water and avoids soaking, so you need to scoop and overturn the manure, mix it with other ingredients, and continue watering while mixing all at once.
Make sure it is a “wrung-out sponge” moisture level.
Step 5: Turn the pile every few weeks
You don’t want your manure pile to be too dense, tight, or matted. Suppose, if I use paper scraps, they become wet, soggy clumps. So, I need to add materials that allow a space for a loft, air pockets, or gaps in a pile.
Oxygen is essential for a compost pile to accelerate the process. So, you check and turn the pile every 2 – 3 weeks to ensure aeration and heat regulation.
Step 6: Monitor temperature
To achieve a food-safe level, you need to meet the PFRP (process to further reduce pathogens). And the ideal temperature range is 130°F to 155°F.

Use a compost thermometer and keep the temperature within this range for 3 days
You can increase the temperature by adding cottonseed meal or more water. Also, Zeolite (mineral) and coffee grounds are added to the bottom of the pile. This also helps alleviate the foul smell.
Step 7: Let it rest
After active composting, allow the compost to rest for 2-6 months. The well-practiced manure turns into compost in 3 months.
Check if the temperatures come up anymore; it’s a good sign that your chicken manure compost is getting ready. Plus, you can see the nice dark color, which shows you’re closer.
If there is still a smell you’re getting from the pile, take a bit longer.
Final Thoughts
Chicken manure creates a hot pile, so you need to compost it to use in your vegetable garden.
If your concern is using it in your garden or the food you grow and eat, you should use non-pine wood chips along with the chicken droppings, preferably hardwood, if possible.
For the best and safest compost, allow it to sit for a minimum of 1 year or 2 years.


Leave a Reply