I didn’t need to watch video clips to make hand cream from beeswax. My granny and mom often made it along with other supplies traditionally after harvesting the beehives.
After homemaking tasks and gardening, your limbs can feel dry, flaky, or cracked, requiring good skin treatment.
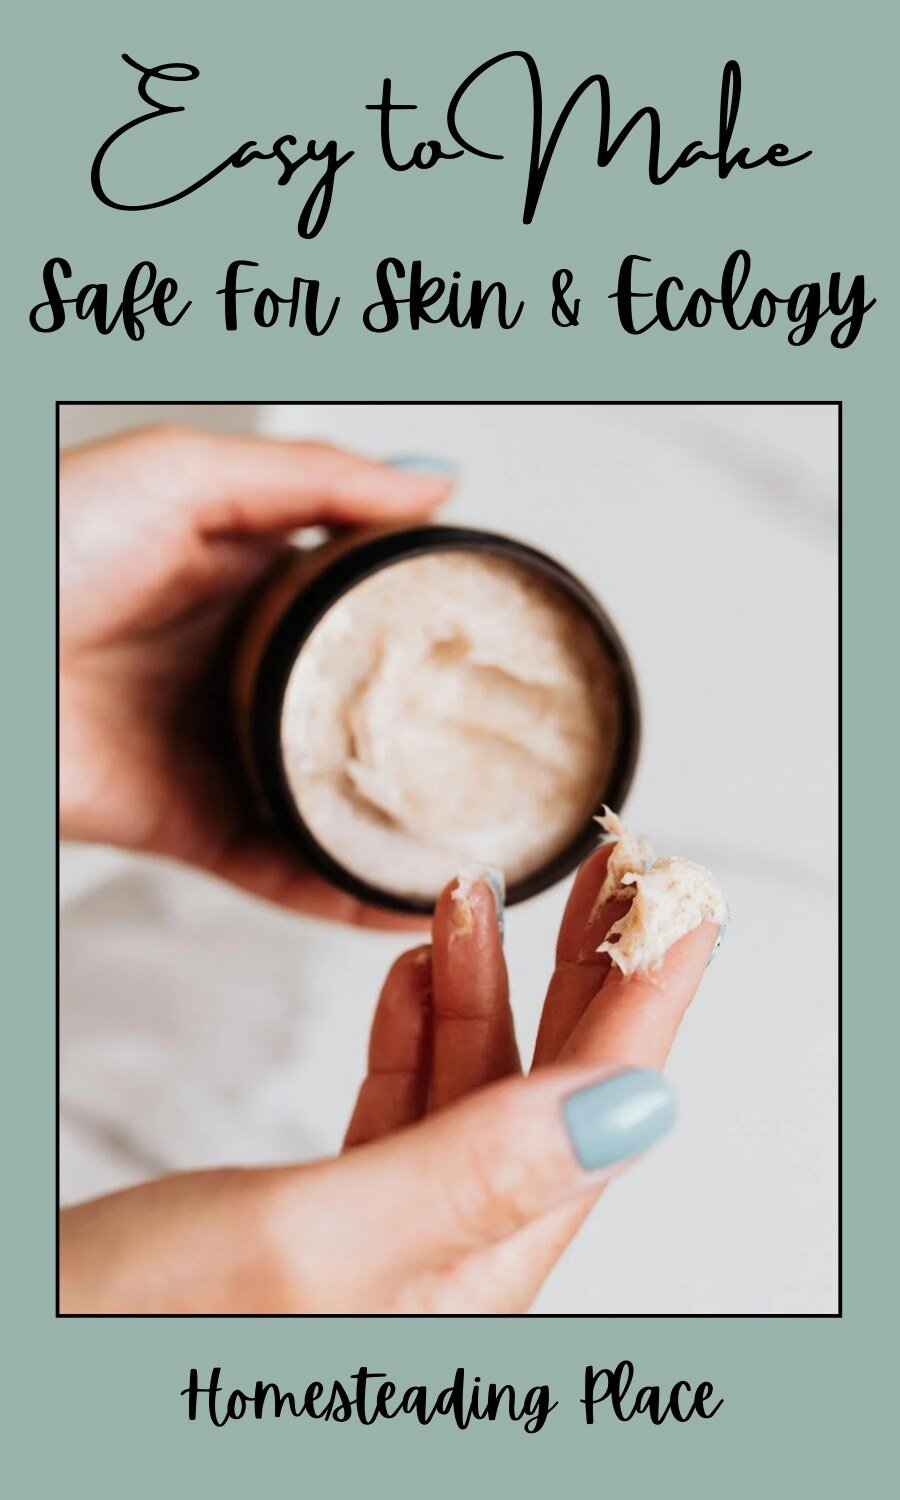
If you don’t want to use store-bought creams, you can make one for yourself with the simple and easy recipe.
Why Use Beeswax in Hand Cream?
Beeswax is a natural wax and remains of beehives after honey. It contains esters of fatty acids and several long-chain alcohols.
It can be used in polishing, lubricating, preventing rust, waterproofing, and making lip balms, skincare supplies, food wraps, and candles.
Beeswax can be an excellent add-on for skin benefits.
It creates a natural shield on the skin’s surface to protect it from environmental irritants and extreme weather. Don’t worry; it is non-pore-blocking, so your skin is free to breathe.
Thus, beeswax supplies can be great for acne-prone and sensitive skin.
Besides, beeswax also acts as a natural moisturizer to prevent water loss, which helps your skin stay soft and hydrated.
My grandmother used to apply creams made of beeswax and always insisted on the skin-softening properties of it. Now, I see pictures of her and notice how finely she ages without wrinkles.
It improves the elasticity of the skin and helps reduce the signs of aging.
Also, it is the same as skin care companies claim to have products with anti-allergenic, anti-inflammatory, and anti-oxidant properties.
Beeswax contains anti-bacterial and germicidal as well.
Hand creams made of beeswax are safer than store-bought hand creams. They are free of chemicals and artificial additives.
They are also economical and eco-friendly.
You can customize or craft the supplies based on personal preferences and needs.
Ingredients and Tools You’ll Need
Essential Materials
| Materials | Quantity |
| Beeswax (pellets or blocks) | 1 ounce |
| Carrier oil (coconut oil, olive oil, or almond oil) | 4 tbs |
| Essential oils for fragrance (lavender, tea tree, or lemon) | 1 to a few drops |
| Vitamin E oil (optional for added skin nourishment) | 2 tbs |
| Shea butter or cocoa butter (optional for a richer cream) | 4 tbs |
Required Tools
- Double boiler or a heat-resistant container over a pot
- Measuring tablespoons or cups
- Mixing utensil
- Small jars or tins for storage
Step-by-Step Instructions to Make Hand Cream from Beeswax
Prepare Your Workspace
It isn’t needed, but you need to know at least how your workplace should be. Mine is a separate craft room where I practice and design the DIY projects.
I don’t recommend you conduct your DIY in the kitchen.
If you’re interested in DIY tasks regularly, you can manage a room out of the storeroom or renovate any other barren place.
So, gather all the essential ingredients and tools. Clean and sanitize your jars or tins, and let’s craft some specials!
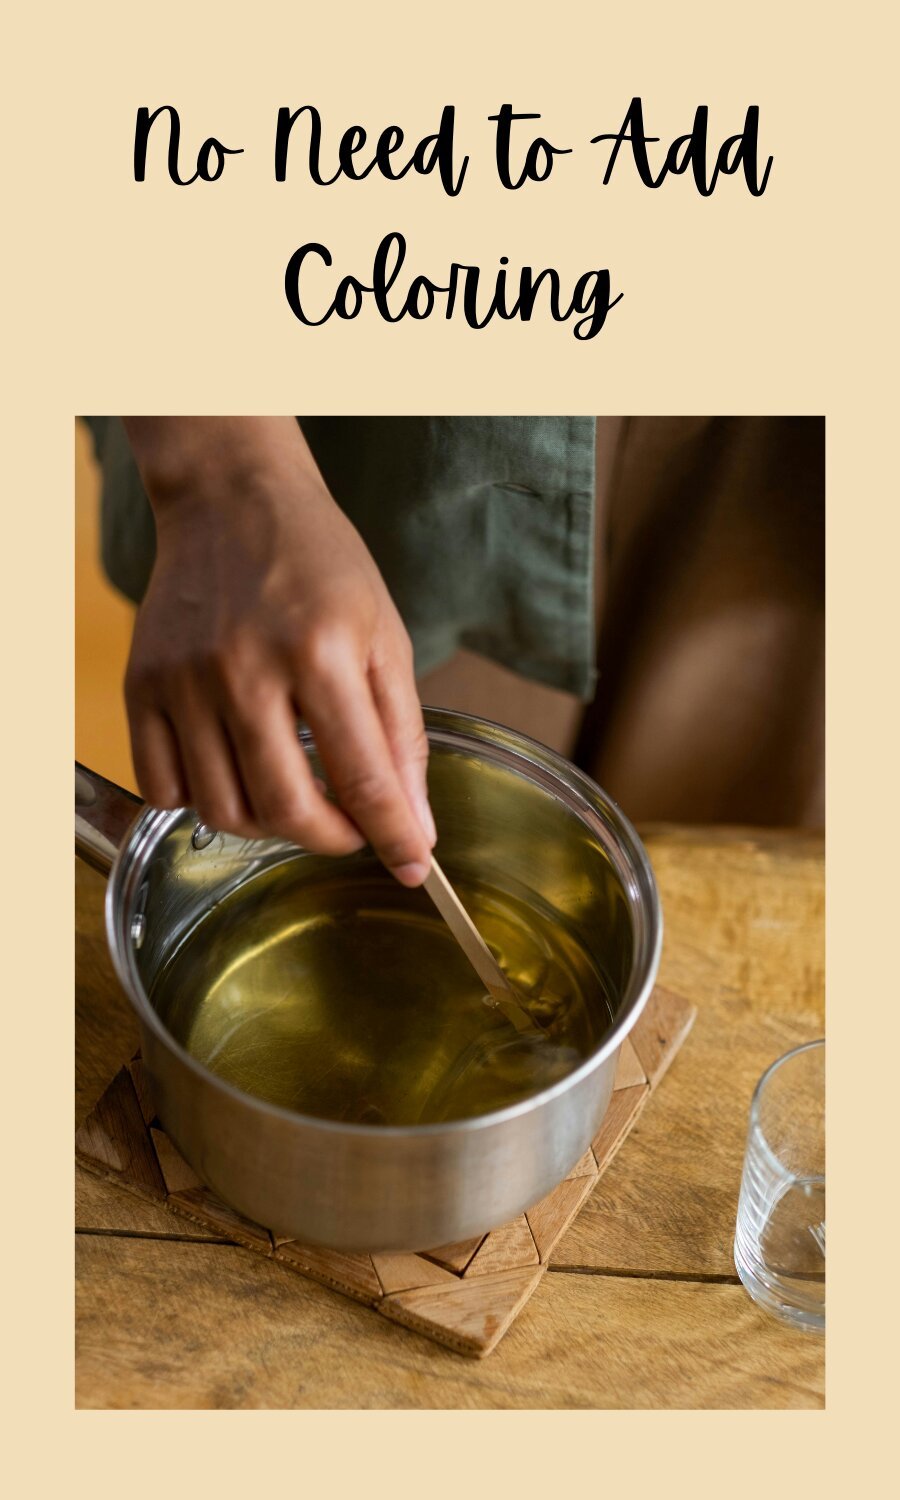
Melting the Beeswax
Place a double boiler on the stove. You can take a water boiler and a metal coffee can. It can work the same!
Now, put a piece of beeswax in a double boiler. Don’t make haste to heat up the boiler. Heat gently and wait for a few minutes (8-10 minutes) to check if the wax has melted.
You can stir the wax with a straw or any other tool until it fully melts.
Pour carrier oil into the melted wax and stir again to mix them well.
Adding Shea Butter and Essential Oils
Remove the mix of beeswax and carrier oil from the heat. Add shea butter to the hot solution and wait for it to melt completely.
You can melt the butter in the beginning with wax, too.
I choose shea butter as it helps add moisture to dry skin and soothes irritants. I often find my skin going dry in the winter, which works well for me.
Once done, add a few drops of essential oil and mix them all.
If you want to add a nourishment agent, you can pour a few drops of Vitamin E oil and stir in the mixture.
Cooling and Pouring
Take a moment to let the mixture cool slightly to thicken. This can take 10 minutes more!
Now, before the mixture sets, pour all into multiple small jars or tins.
I suggest you collect some small (2.5-3 cm) cosmetic boxes from the store. 50 ml containers are also fine. They look really cool next to the makeup or beauty care supplies.
Final Steps
If you want to speed up the process, place the container in a cool place or at room temperature to solidify the cream.
Depending on the temperature, this may take half an hour to a couple of hours.
Now, you can label it with fancy text and store it in a cool and dry place. You can also use it immediately after the final step.
Tips for Customizing Your Hand Cream
Though the method to make hand cream from beeswax, available in different sources, is almost the same, you can still have some room for creativity, making your craft unique.
You can adjust the texture of the cream based on your preference and requirements.
For example, if you want a firmer consistency, use more beeswax. Otherwise, add more oil to make a softer cream.
Have you ever tried making unique scents? If not, experiment with scents using different essential oil combinations.
Besides, you can add herbal infusions such as calendula, rose, or chamomile for extra benefits.
Storage and Shelf Life
Always keep the cream in an airtight container. Don’t expose the container to the sun or hot temperatures for long, as it may melt and spoil.
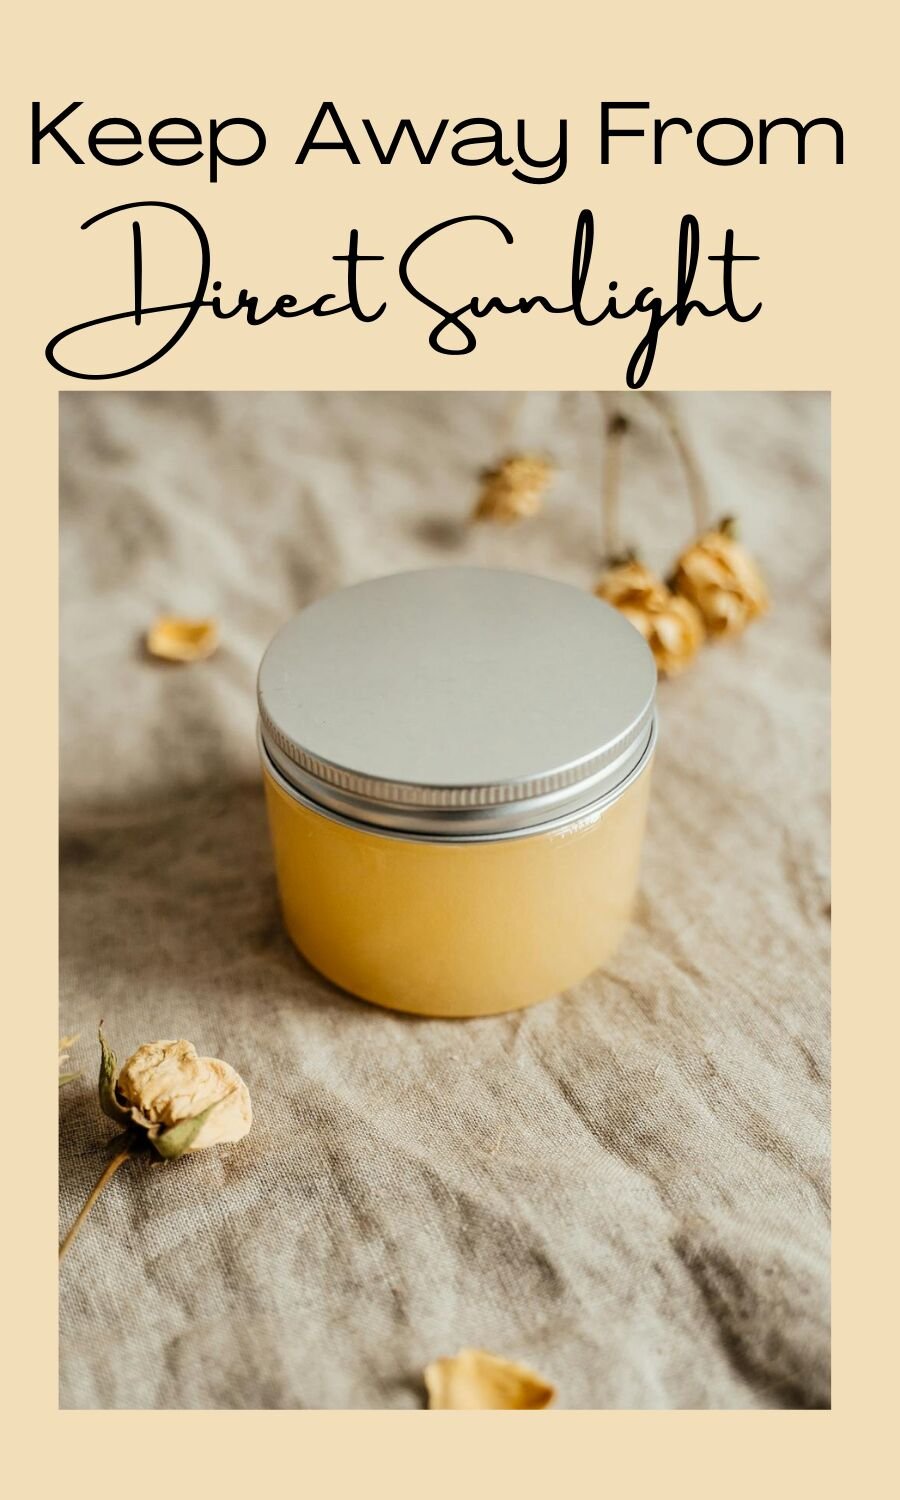
A typical shelf life of homemade hand cream can be 6–12 months when stored in a cool, dry place.
I recommend you not to use these creams at nine months.
Check for the signs of spoilage. Discard the cream if it changes color, smells different, and is unpleasant. Also, it can separate and become grainy.
Remove all the expired stuff from the containers and wash and clean them for later use. Or you can use them for other DIY projects.
Final Thoughts
I hope you have got it well to make hand cream from beeswax.
Apply the cream after washing your hands and when you feel dry hand. If you want nourishment treatment, use the cream at night and wear gloves during sleep.
Finally, I suggest you discontinue the hand cream and consult a dermatologist if you feel uneasy and irritated.


Leave a Reply