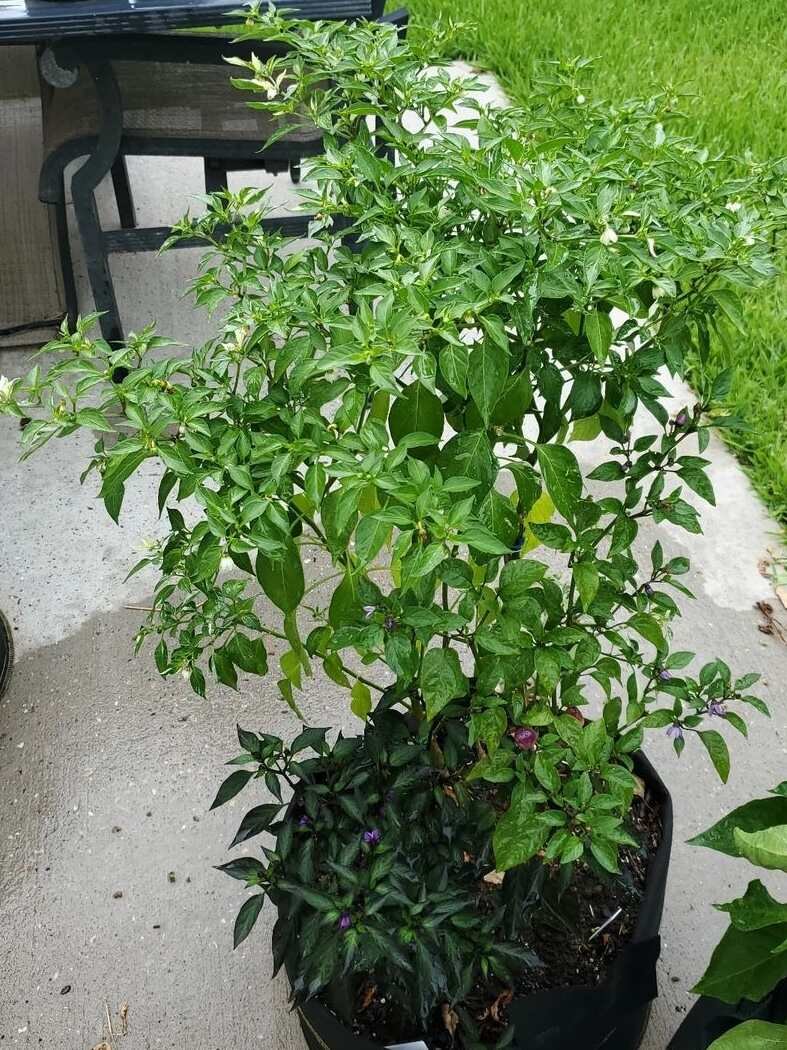
Growing peppers in the home garden and picking them for your favorite recipes, including salads, is more than a heavenly experience.
Remember, proper and right harvesting techniques for peppers not only ensure complete and healthy picking but also help you get full flavor.
So, if you are growing peppers for the first time this year, read this guide to learn the best methods and tips for picking them.
Understanding Pepper Growth Stages
When you plant pepper seeds in late winter or early spring, it may take 1 to 3 weeks for them to germinate.
When sowing seeds, mark no more than two months before your last frost date.
After the pepper seedlings are around 6-8 weeks old and have developed a robust root system, it is a sign to transplant them to the ground or pot.
You can identify this phase when the seedlings have produced a third set of true leaves.
And following are the lateral growth stages of peppers, needing more care.
Vegetative Stage
After transplanting, the seedlings can take 4-6 weeks to develop more leaves and stems and grow as complete pepper plants.
If you grow pepper plants indoors, provide them with 12-16 hours of sunlight or artificial light per day.
Also, ensure that the plants get 70-85°F (21-29°C) during the day and somewhat low temperature at night.
This is the overall growing stage for the peppers, so they need to be fertilized every 2-3 weeks with a balanced or water-soluble vegetable fertilizer. Don’t forget to inspect the probable insects and diseases and prune them evenly.
Blossom to Fruit
Depending on the variety and growing condition, the peppers produce flowers in 70 to 80 days after planting or 8-12 weeks, lasting until fruit sets.
Then, the plant enters pollination when natural populations such as air, bees, butterflies, and other insects transfer pollen from one plant to another.
Many peppers, including bell, cayenne, and habanero peppers, can self-pollinate.
Peppers may take anywhere between 60 and 90 days to yield fruits.
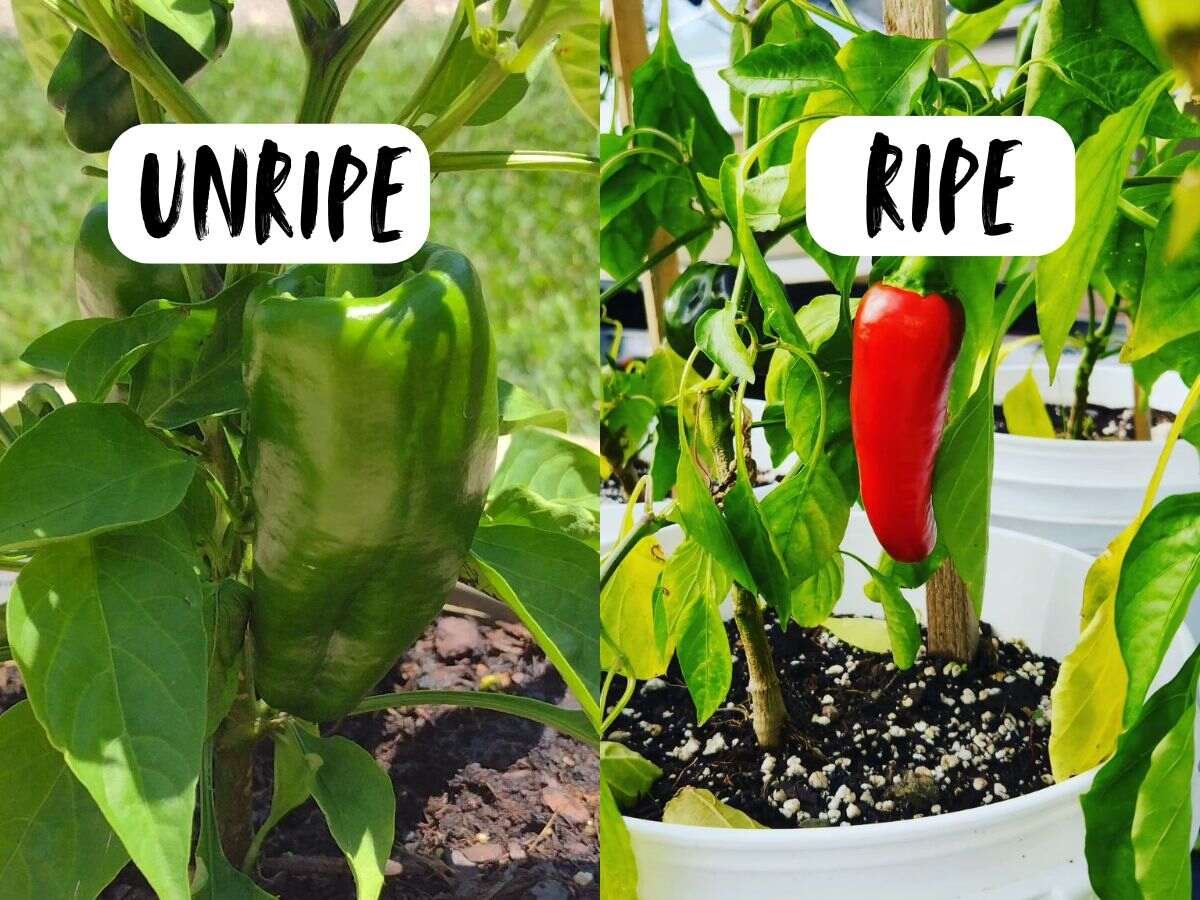
Color Changes and Ripening
Many peppers are green initially and turn red, orange, or yellow when ripe, such as common jalapeño chilies, bell peppers, habaneros, and ghost peppers.
But a few may surprise you with ripening colors like purple, brown, white, and more.
These include chocolate habaneros, purple jalapeño peppers, and others that don’t turn green to red.
Other than these, some are labeled “evergreen” or “green,” such as Evergreen or the Trinidad Scorpion Green, which remains green from the beginning to the ripening.
You can tell peppers change color and ripen 70-100 days after planting.
Tools and Preparation for Harvesting Peppers
If you pull pepper fruits with your bare hands, the oily compound capsaicin in hot pepper may leave a burning sensation in your eyes and skin.
Besides, you may not want to risk unnecessarily damaging plants or fruits.
So, you will require the following instruments gardening gloves, scissors or pruners and a pair of boots to enter your garden.
I prefer to sterilize the metal tools, including pruners, with sterilization solutions before and after harvesting.
Step-by-Step Guide on How to Pick Peppers
Based on the general thumb rule, sweet peppers mature minimum of 60-90 days of planting, while hot peppers take about 90-150 days to become mature.
It is best to harvest mature peppers in late September and October. Here is the process for doing so.
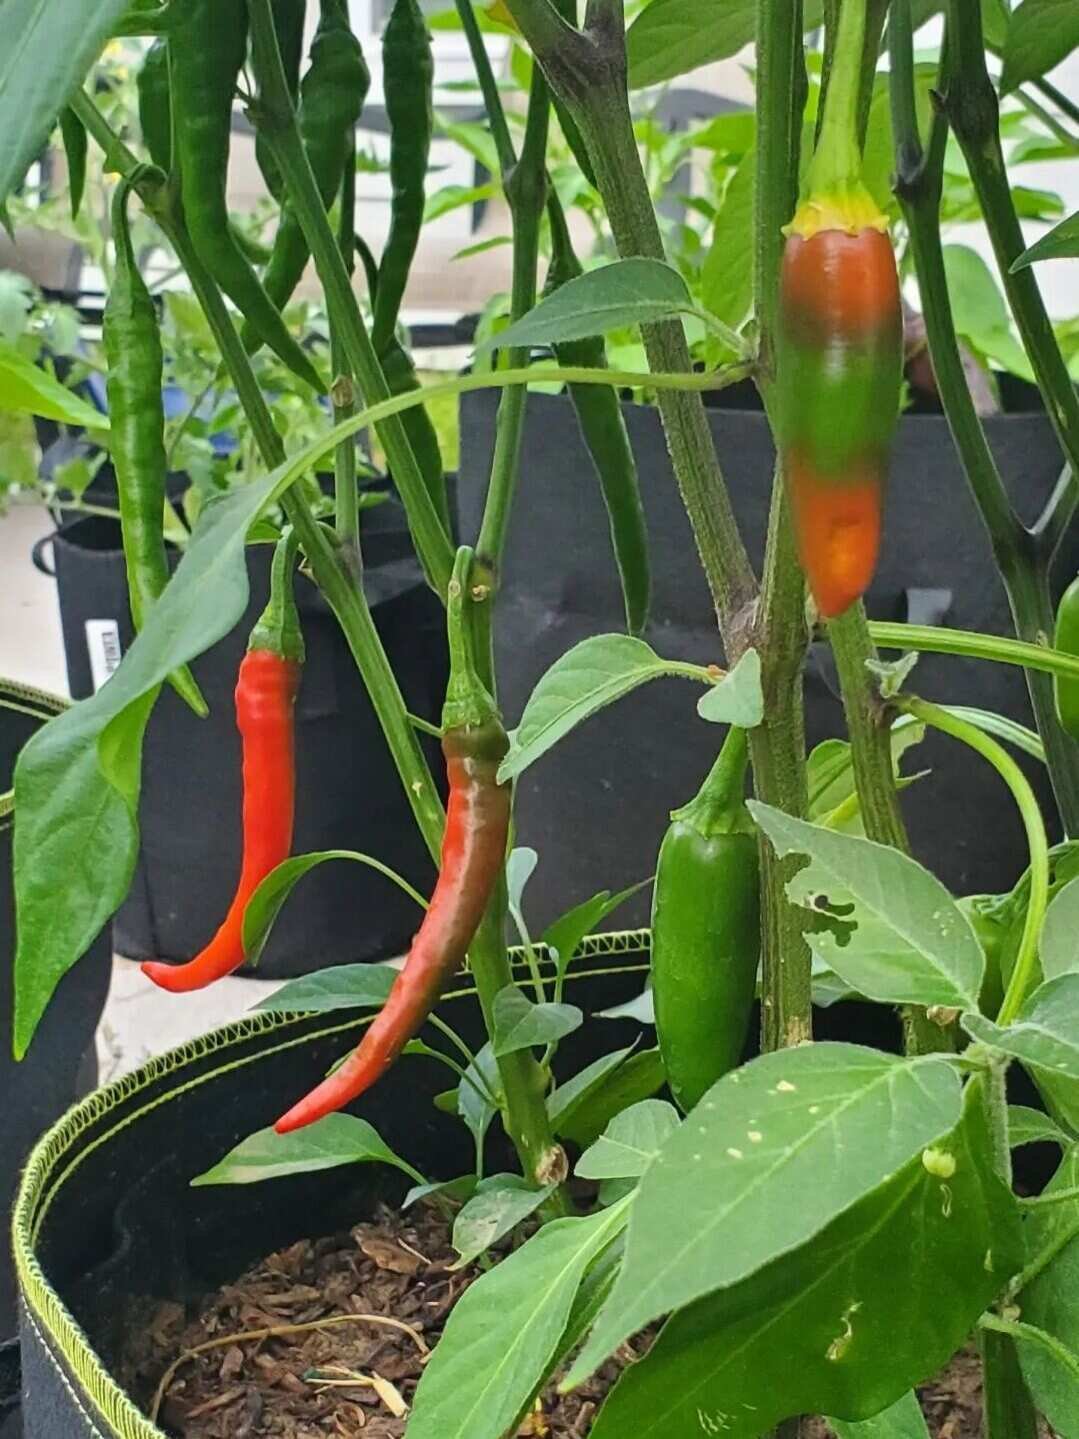
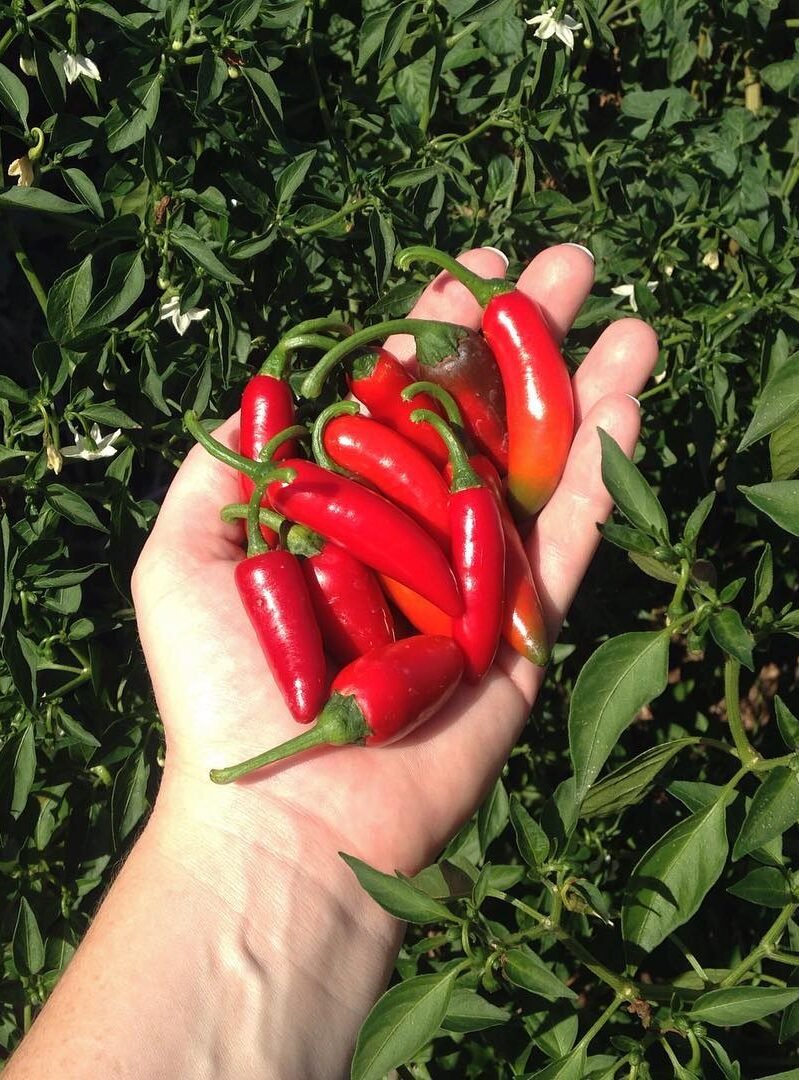
Step 1: Identifying ripe peppers
You can identify ripe peppers by checking the firmness of the pods and feeling the seeds that have developed inside.
Besides, the ripe peppers show telltale signs through maturity colors, including red, bright orange, yellow, brown, or purple.
They may need 2 to 4 weeks to turn to their mature color after the pods reach full size.
For instance, Jalapeños can produce fruits 3 to 4 inches long, while the bigger peppers, including a poblano, often grow about 3-8 inches long and 2 inches wide.
Besides, peppers have streaks down their sides when ripening.
Step 2: Using proper cutting techniques
If you pick the mild or sweet peppers, snap them off with your hand. The quickest way is to twist their stalks by holding your fingers on the upper pods.
Remember, don’t pull hard to break the branches of the plant.
However, you may require scissors or pruners for stubborn and hot varieties.
Snip the pepper stem about an inch above or cut close to the stem that bears the fruits.
Tips for Extending Pepper Harvest
Depending on the time of year and plant health, you can easily harvest peppers 2-4 times after a single planting.
Surprisingly, my friends can get six times the harvest in a single planting.
You can still increase your pepper yield and harvest as much as possible and for a long time with the following considerations.
Regular Harvesting for Continuous Production
You can harvest your grown peppers every few days to once a week. Reaper, habanero, cayenne, poblano, and bells require multiple harvests.
If you ask me, I often target-picking once or twice a week, depending on the yield and ripening.
Picking regularly encourages new growth of the peppers in the growing season, producing more flowers and, thus, more fruits.
It also increases taste; for example, the longer bell peppers remain on the plant, the sweeter they become, enriching vitamin C content.
Peppers are frost-sensitive, so it is wise to harvest them completely before the frost arrives. To do this, you can cut the whole plant.
Pruning and Plant Care
You need to toil with plant maintenance and support plant health if you want a longer harvest.
Pruning: It is best to prune brown, yellow, or diseased leaves and foliage that shed the fruits. You can also snip off the branches that grow about 6-8 inches from the ground.
Soil and Fertilization: I often recommend maintaining Soil pH between 6.5 and 7 and applying a bloom booster. 3-5-5 or 5-10-10 fertilizer also does best.
Pests and Diseases: Aphids, pepper maggots, and thrips commonly feed on these peppers. You must also inspect for fungal and bacterial diseases with several signs, including black and yellow spots. You can use neem oil to prevent these plant problems.
Supports: Depending on the pepper plant size, you can place 3-4 feet tall skates to support the heavy produce.
Mulching: Add soil cover such as straw or other disposable material. This not only removes the risk of stress-related fruit drop but also maintains the required soil temperature and moisture to bear the stress at the beginning of the frost.
Light, Temperature, and Watering: Greenhouse or indoor peppers need 16-20 hours of lighting. Also, you need to maintain 70°F-80°F during the day and 60°F-70° F at night, and water 1 to 2 inches of water per week.
Seasonal Considerations
Outdoor peppers cannot tolerate frostbite until external protection comes into action.
But you will reap the extended harvest if you can overwinter the peppers. For this, potted peppers or greenhouse peppers benefit you well.
You can pick bell peppers early in June and July and late September and October.
I usually harvest my homestead peppers sporadically, opting for ripe firsts and leaving the young ones to mature. This way, I can get most of the late-season harvests.
How to Store Freshly Picked Peppers
I can tell you how excited I can be every time I prep foods, especially peepers, once they have been harvested.
You can also preserve the peppers depending on your needs, whether you like pickles or dried, and based on the resources, including cold storage.
Short-Term Storage
If you want to save peppers for only a few days, you can opt for Countertop.
Place the peppers in a produce bag and keep them cool and dry.
Besides, storing the peppers in the refrigerator can help you consume them for 10 to 14 days. But if you place the cut peppers in the refrigerator, they won’t last more than 4-5 days.
First, dry the peppers, removing the excess moisture. Then, keep them in a plastic bag with holes for air circulation.
Then, store them in the crisper drawer and set a temperature between 40°F and 45°F. However, if you have the cut peppers, put them in an airtight container or box with a paper towel.
Long-Term Storage
Frozen peppers: First, remove the stems and cut the tops off the peppers. Then, cut the peppers into strips about half an inch wide and place these fruits on a baking sheet with toppling to keep them in the freezer for an hour.
After that, put the peppers in a freezer, remove the air from the bag, and keep the bag in the freezer again.
You can also store the uncut peppers by wrapping them in a plastic bag and put these peppers in a freezer bag. This helps you save the peppers for six months.
Pickled peppers: There are two ways to preserve the peppers, both using a technique and a recipe. The first one is acto-fermentation, in which salt and water are added to maintain beneficial bacterial transformation.
However, acetic acid is needed in vinegar pickling, which helps preserve the peppers’ flavor and offers a sour tang.
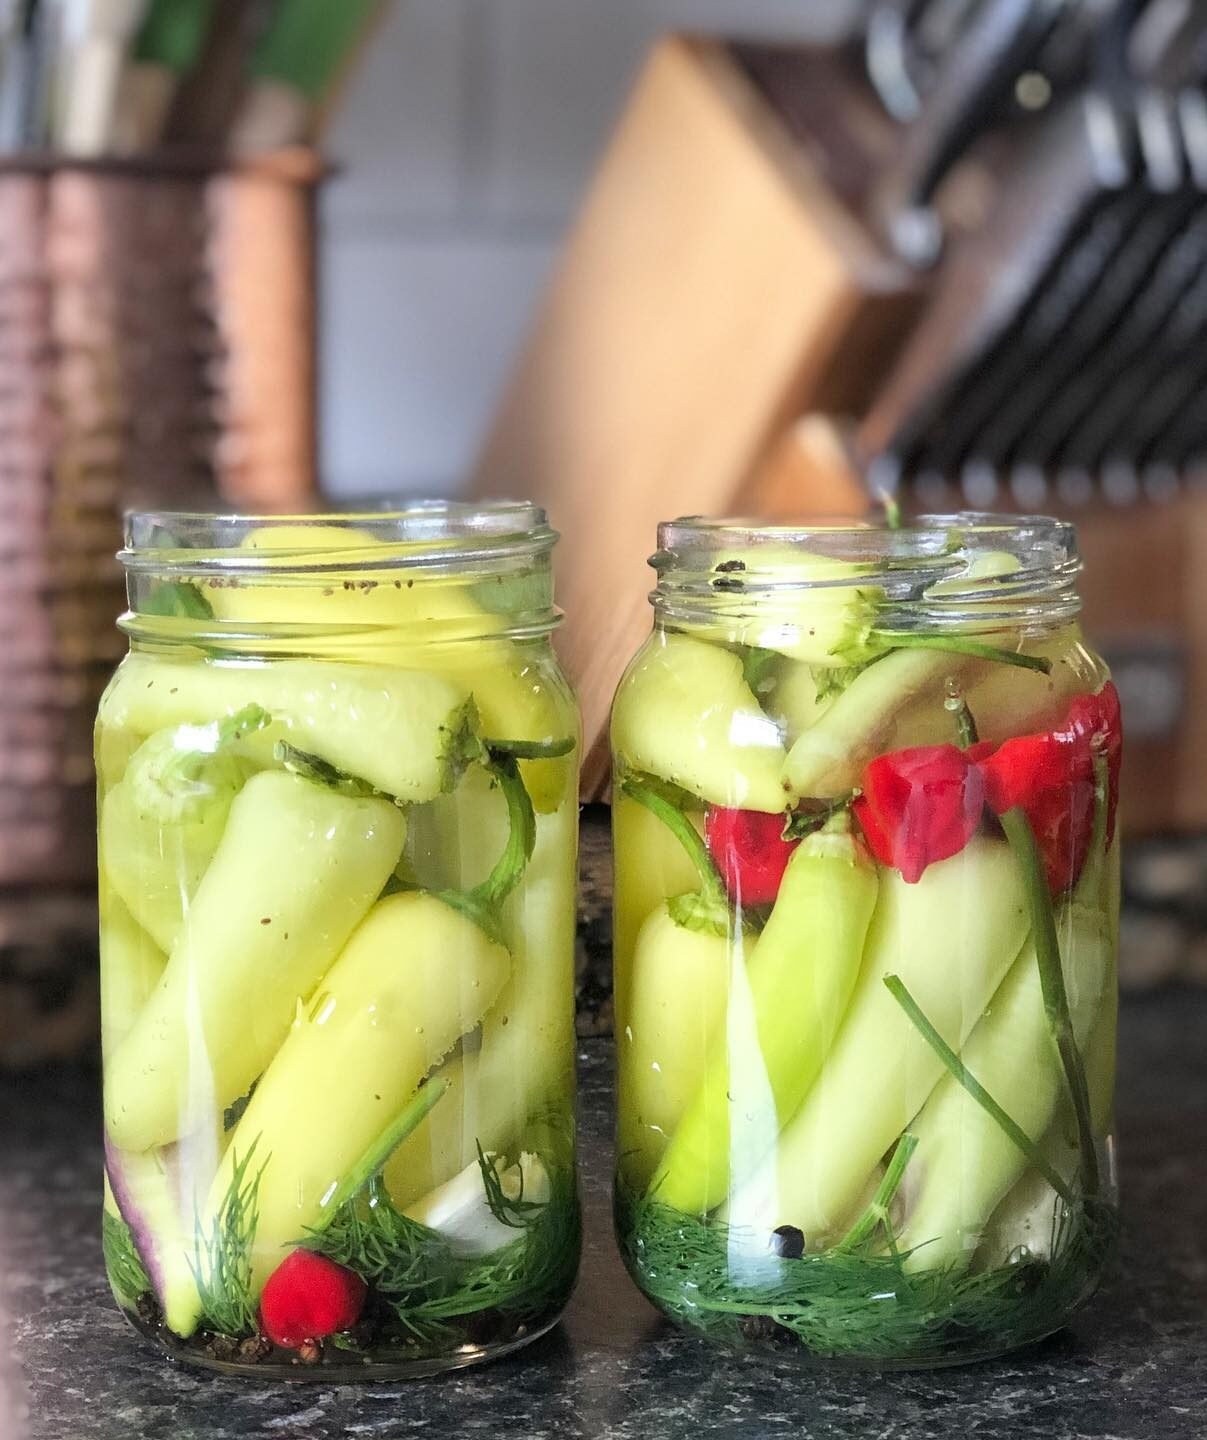
Pickling helps the peppers last for a few weeks.
Canned peppers: Put peppers and vegetable oil in the glass jars and seal them tightly. This way, the preserved peppers can last for years in your pantry.
Dried peppers: You can dry tiny or hot peppers in an oven to the lowest temperature or in a dehydrator.
It is wise to slice the bell peppers before drying.
Proven Storage Tips to Prevent Mold and Spoilage
Before storing, inspect any damaged, broken, or moldy peppers and remove them immediately.
Also, you need to avoid stems, which help fresh peppers last a little longer and prevent them from becoming wrinkly in the fridge.
Besides, you do not need to wash the peppers before storage. This helps avoid excess moisture and prevents speeding up decay.
Common Mistakes to Avoid When Harvesting Peppers
Any beginner may fail to pick post-harvest treatment peppers. So, I always double-check the following conditions.
- Picking too early or late: Start picking when the pepper fruits are about 6-8 inches long and about 1-1.5 inches in diameter.
- Pulling peppers by hand instead of cutting: Use clean and sharp pruners and cut peppers, causing small stems to attach.
- Harvesting the whole plant: I often thin the peppers based on their ripe number and wait for the remaining to ripen.
- Picking in the rainy or hot days: Go to your garden in the morning after the dew has dried.
When growing, you also need to take care of the discussed mistakes in the video to ensure the expected harvest.
Final Thoughts
Compared to potted or greenhouse peppers, garden or outdoor peppers mature and ripe a few days earlier.
But you can harvest indoor peppers longer and until late season.
I try different varieties every year for recipes and fun. A few on the list include Habanero, Anaheim, Capsicum, and Jalapeño. You can also do the same!
FAQs Related to Harvesting Peppers
Can I pick peppers when they’re still green?
Yes. If peppers have developed seeds inside but the pod is still green, you can pick them for your recipes. Also, some varieties, including “evergreen,” remain green when ripe, so don’t be mistaken.
How often should I harvest peppers?
It depends on your pepper’s yield, variety, and growing condition. On my homestead, I have harvested a maximum of four peppers from a single plant.
What happens if I don’t pick the peppers in time?
If you don’t harvest peppers by early winter, the frostbite will destroy peppers. The fallen pepper fruits have some luck germinating new plants through seeds in the coming spring.
Do different pepper types require different picking methods?
There are only two ways to pick peppers: by hand and by scissors. So, you needn’t worry about the method for different varieties.
Why do my peppers have cracks or “corking”?
Corking is a clear sign that your peppers are getting lots of water, either from rain or the watering schedule with abundant sun. This helps the peppers grow faster, but you need not worry as it is a common condition without harmful consequences.


Leave a Reply