It’s not that too difficult to incubate and hatch quail eggs successfully. In the first year of quail keeping, I hatched over 80 percent of eggs with my inexperienced hands.
It is a game of maintaining ideal temperature and humidity.
Hatching eggs itself is rewarding, but you need patience, care, and attention to detail. Here is a guide where I have shared a detailed quail-hatching process using an incubator.
First, Understand Quail Egg Incubation
Incubation means keeping the eggs warm until they are hatched, maintaining the temperature.
Quails are not big birds and don’t have thick feathers that can entrap heat for a long time, so they require human assistance to hatch their eggs in confinement or on a farm.
Your bird eggs hatch in an average of 18 days. However, depending on the quality of the incubation, it can also happen as early as 16 or 20 days at a time.

If quail hens need to go broody, they take 17 to 24 days to hatch their first batch of 10 eggs in the grass, leaves, and vegetation.
If you want them to incubate their eggs naturally on the farm, you must also let them sit on their eggs and provide them with warming facilities.
For example, place the clean and warm straws around their nest. They mostly lay around the corner if the shelter is spacious.
But the hatching success rate is only around 70-80% under a broody quail hen against the artificial incuberator that provides 100% success.
Choose and Set Up an Incubator
Before you begin, there are a few factors to consider when buying an incubator. You need to decide on an automatic or manual turning device.
Also, temperature control and ventilation are considerable things in this equipment.
A good incubator has an automatic turner, adjustable vents, a fan to circulate air, and a water reservoir.
I don’t recommend you use incubators with temperature oscillations or hot spots. These affect small eggs, making it hard to hatch.
As the incubators are highly quirky, I suggest you install thermometer-hygrometers in the incubator. This will help you double-check secondary readings of the temperature and humidity levels.
Recommended incubator settings
- Temperature: 99.5°F (37.5°C) for 18 days
- Humidity: 45-55% for days 1-14, then 65-75% for hatching days 15-18
- Egg Checking: Turn eggs days 1-14, 3 times daily, then stop it after day 15 until the successful hatch
Set up all these variations and run the incubator for 24 hours before placing the eggs inside the device. It’s only for testing the device.
This helps stabilize the inside environment, and you make necessary adjustments before starting the hibernation period.
Also, you need to keep the device in a stable, draft-free environment. Isolate it at a distance from windows and sunlight.
Select and Prepare quail Eggs for Incubation
Once I put the eggs in the incubator as soon as they arrived from markets. I didn’t know I would have to allow eggs to rest for 24 hours, settle the yolk, and reach room temperature.
Also, you shouldn’t place the cold eggs in warm and humid incubators. This can cause the eggs to crack and the embryos to vanish.
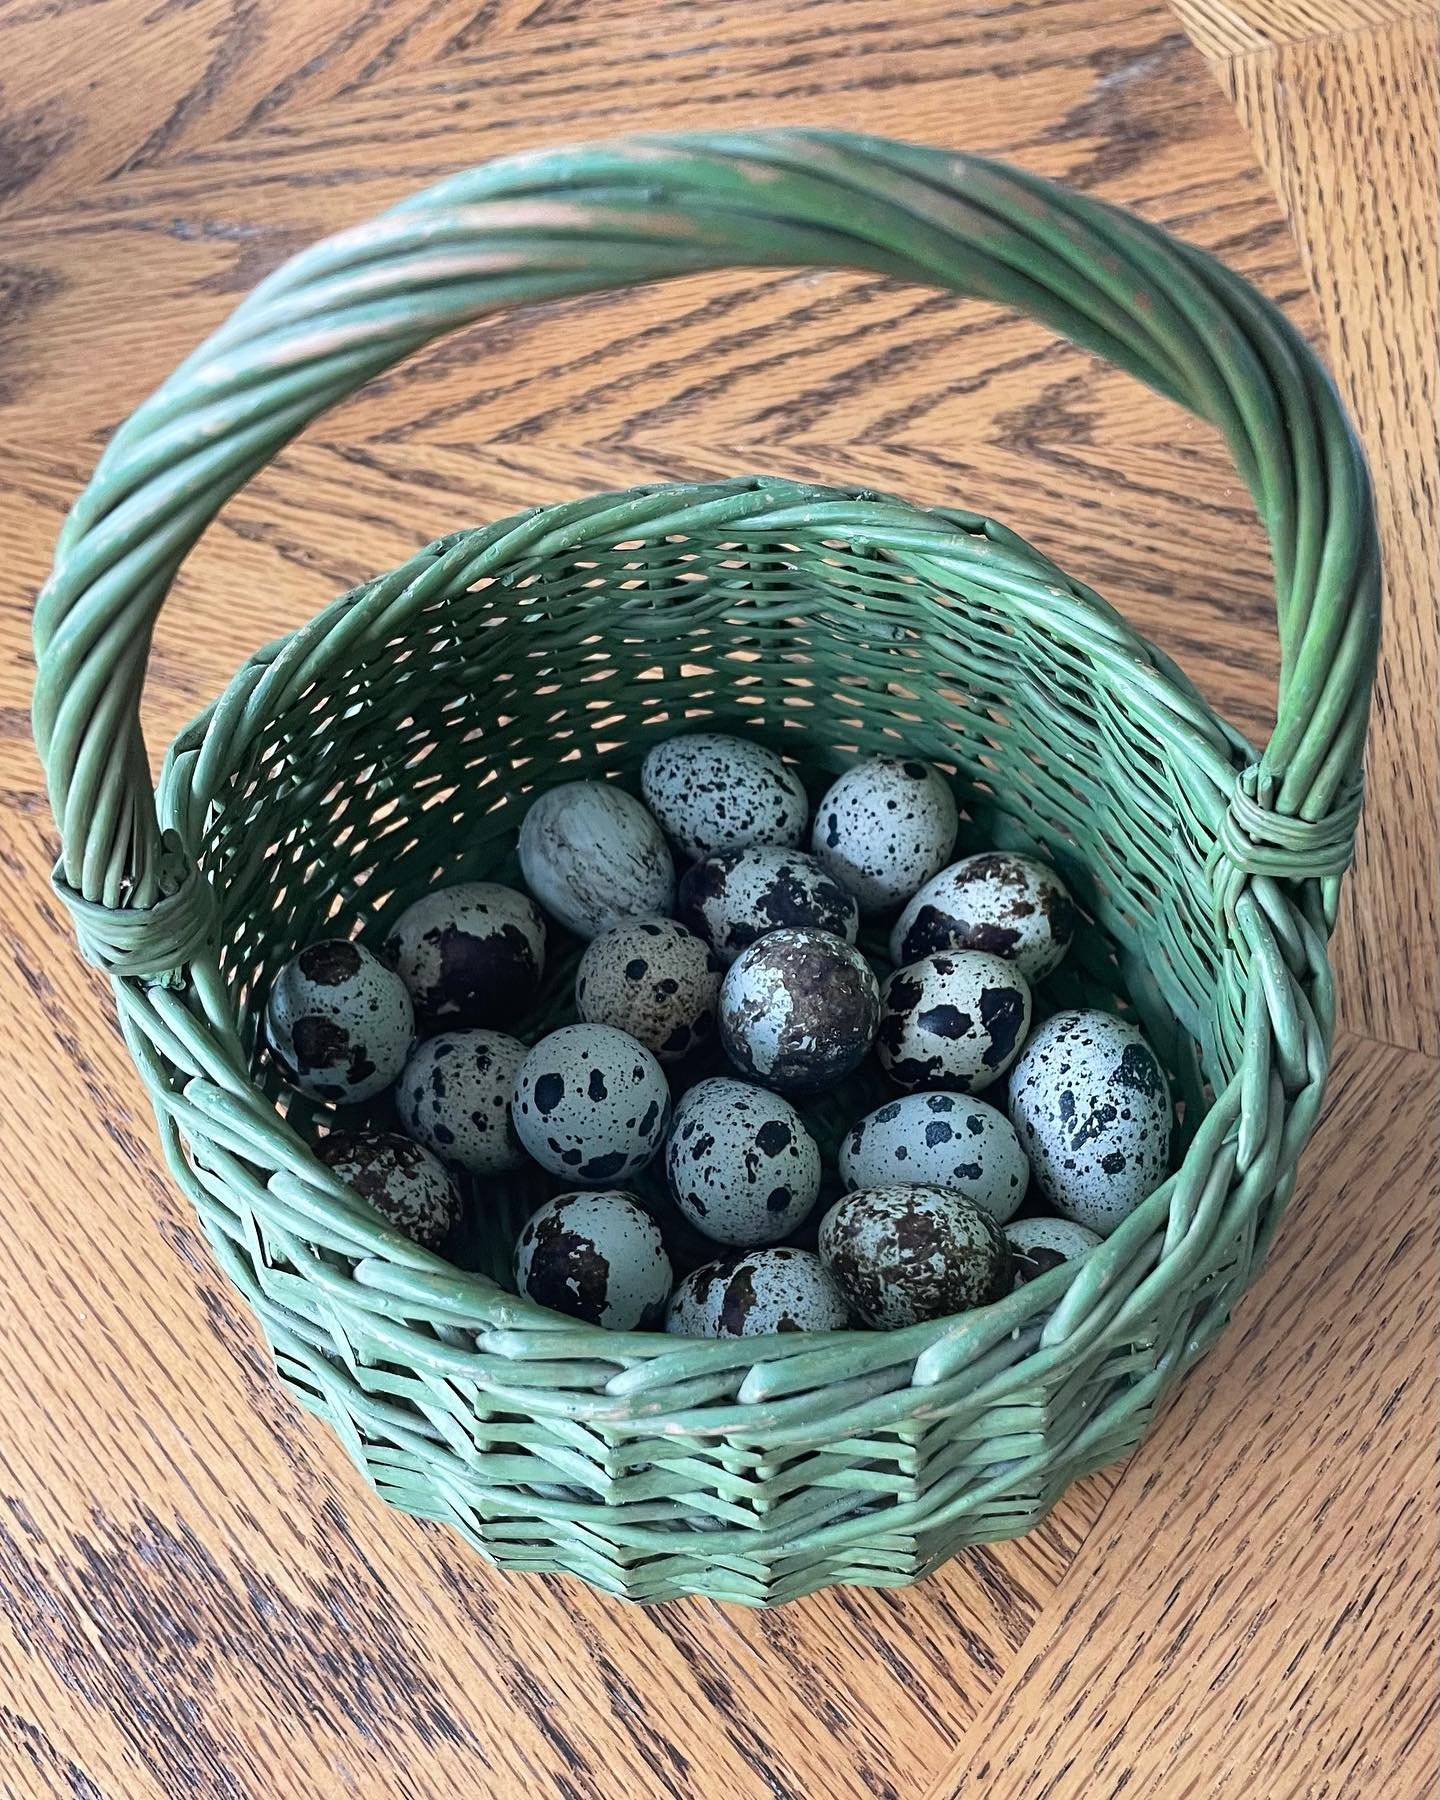
Choose the clean eggs after collecting eggs from the quails in a cage. But don’t wash them.
You need to store eggs at 55°F – 60°F before incubation. Don’t place them under the sun or in the refrigerator. You can keep the shells in the warm environment.
Once they develop a temperature around 70 °F, you need to run to a cool place.
Remember, eggs need to be placed pointy side down so that the air sack is managed in the large end of the egg.
Also, quail eggs should be fresh, no older than 7 days. Avoid damaged eggs or eggs with cracks, odd shapes, or overly large pores.
The size of the eggs depends on the type of quail, but they need to be uniform.
But quail eggs’ fertility doesn’t rely on how long they are laying eggs.
When placing quail eggs in incubators, mark “X” and “O” on each side individually with a soft pencil or maker. This helps you identify either sides are rotated equally and avoid a dilemma about which side to turn next.
It also saves you from turning the same side frequently.
The Incubation Process: Step-by-Step
Days 1-14: Early Incubation
After you confirm the incubator has reached the ideal temperature and humidity and the fertile eggs have settled for 24 hours, you are ready to place them in the device.
Place the quail eggs in the incubator with the pointed side down.
However, some devices require eggs to lay flat on their side.
For the first 2 weeks, you need to monitor and wait. Check the variables using thermometer-hygrometers. Adjust them by adding or removing water from the reservoir.

The vents need to be around 99.5 F temperature and around 45-50% humidity.
Sometimes, you feel the incubators have quirks and technical issues but don’t open the lead. Yes, if you’ve good knowledge and you have no option.
The turning eggs play important roles in successful hatching. So, keepers have to turn eggs 3-5 times daily, once every 8 hours mannually.
But don’t open the incubator frequently.
It’s a convenience if you have an automatic turner.
Days 14-16: Candling Eggs
In candling eggs, you need to check the fertility and development of eggs. For this, you need to use a bright light or simply candler to flash inside the egg.
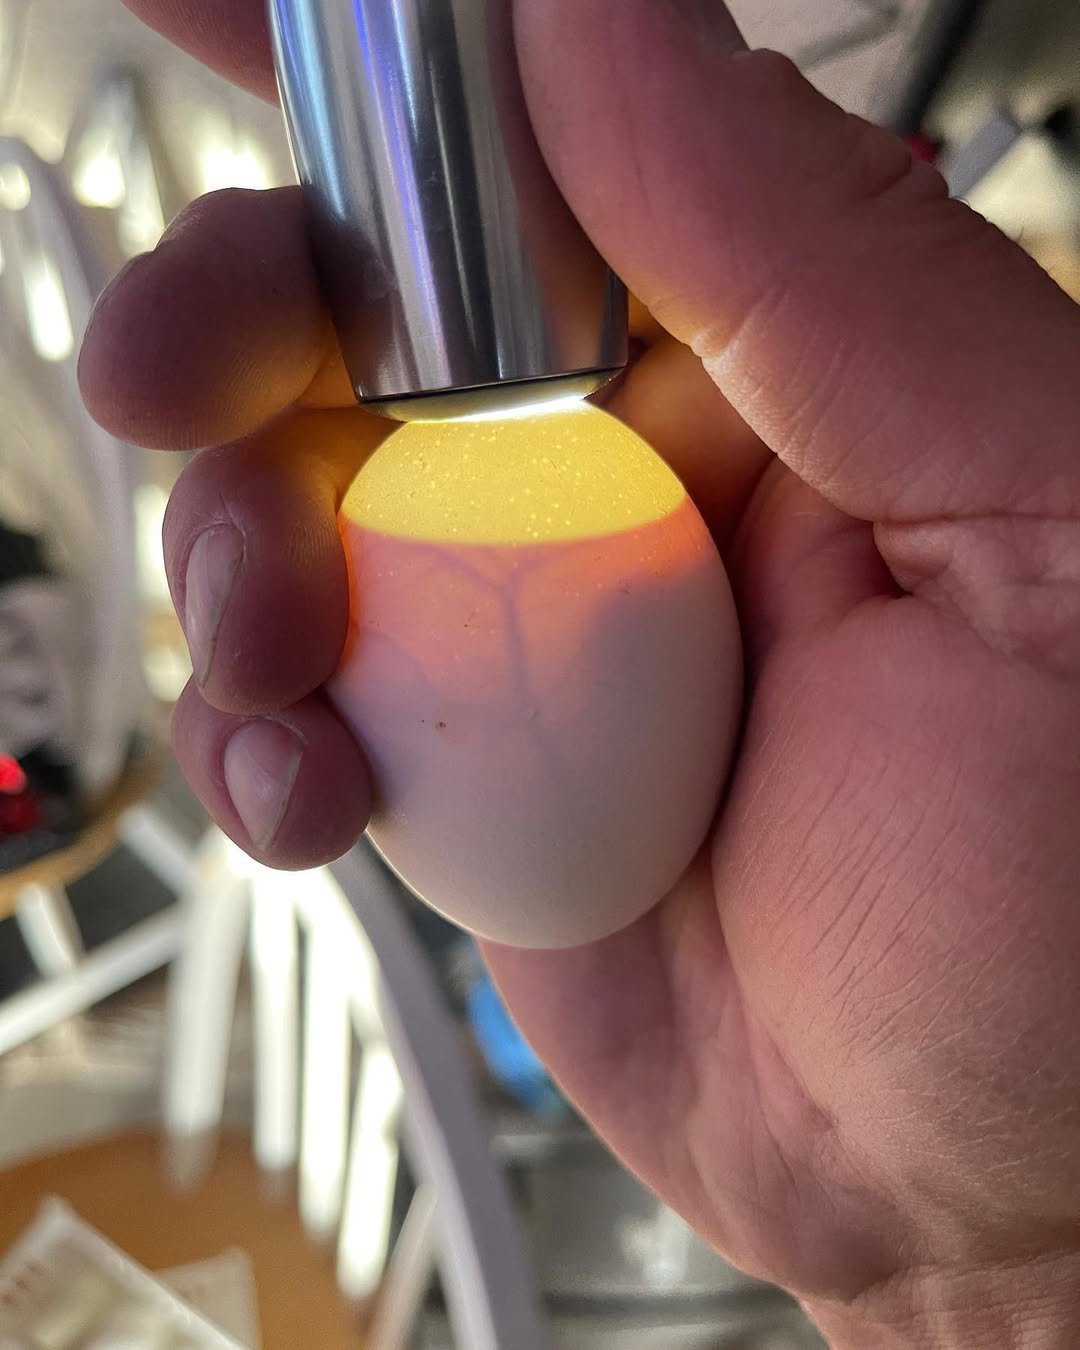
This helps the keepers remove non viable eggs and avoid the rot and explode in the incubator.
But don’t overcandle the eggs, as bright light will scare or harm the chicks inside the shell.
You have to look for red veins, movement, and dark mass growing inside the eggs.
If not, you need to discard the non-fertile or bad eggs. The infertile eggs have a clear or cloudy appearance.
Days 15-18: Lockdown Period
Now, you don’t need to turn eggs from day 15. Chicks are fully developed and need to position themselves in the shell.
Also, keepers have to raise the relative humidity to 65-75% to prevent chicks from getting trapped inside.
You can do it by adding more water or partially blocking the vents. A wet sponge or cloth can also do the job. After this, don’t open the incubator for the last three days.
Hatching Process: What to Expect
Days 16 – 17 are the waiting game. You might notice the temperature and humidity mounting and decreasing but you need to have some patience.
Don’t open the lid.
The chicks start hatching the shells with some difficulty. They pipe the holes of the eggs and zip them to the end before popping out.
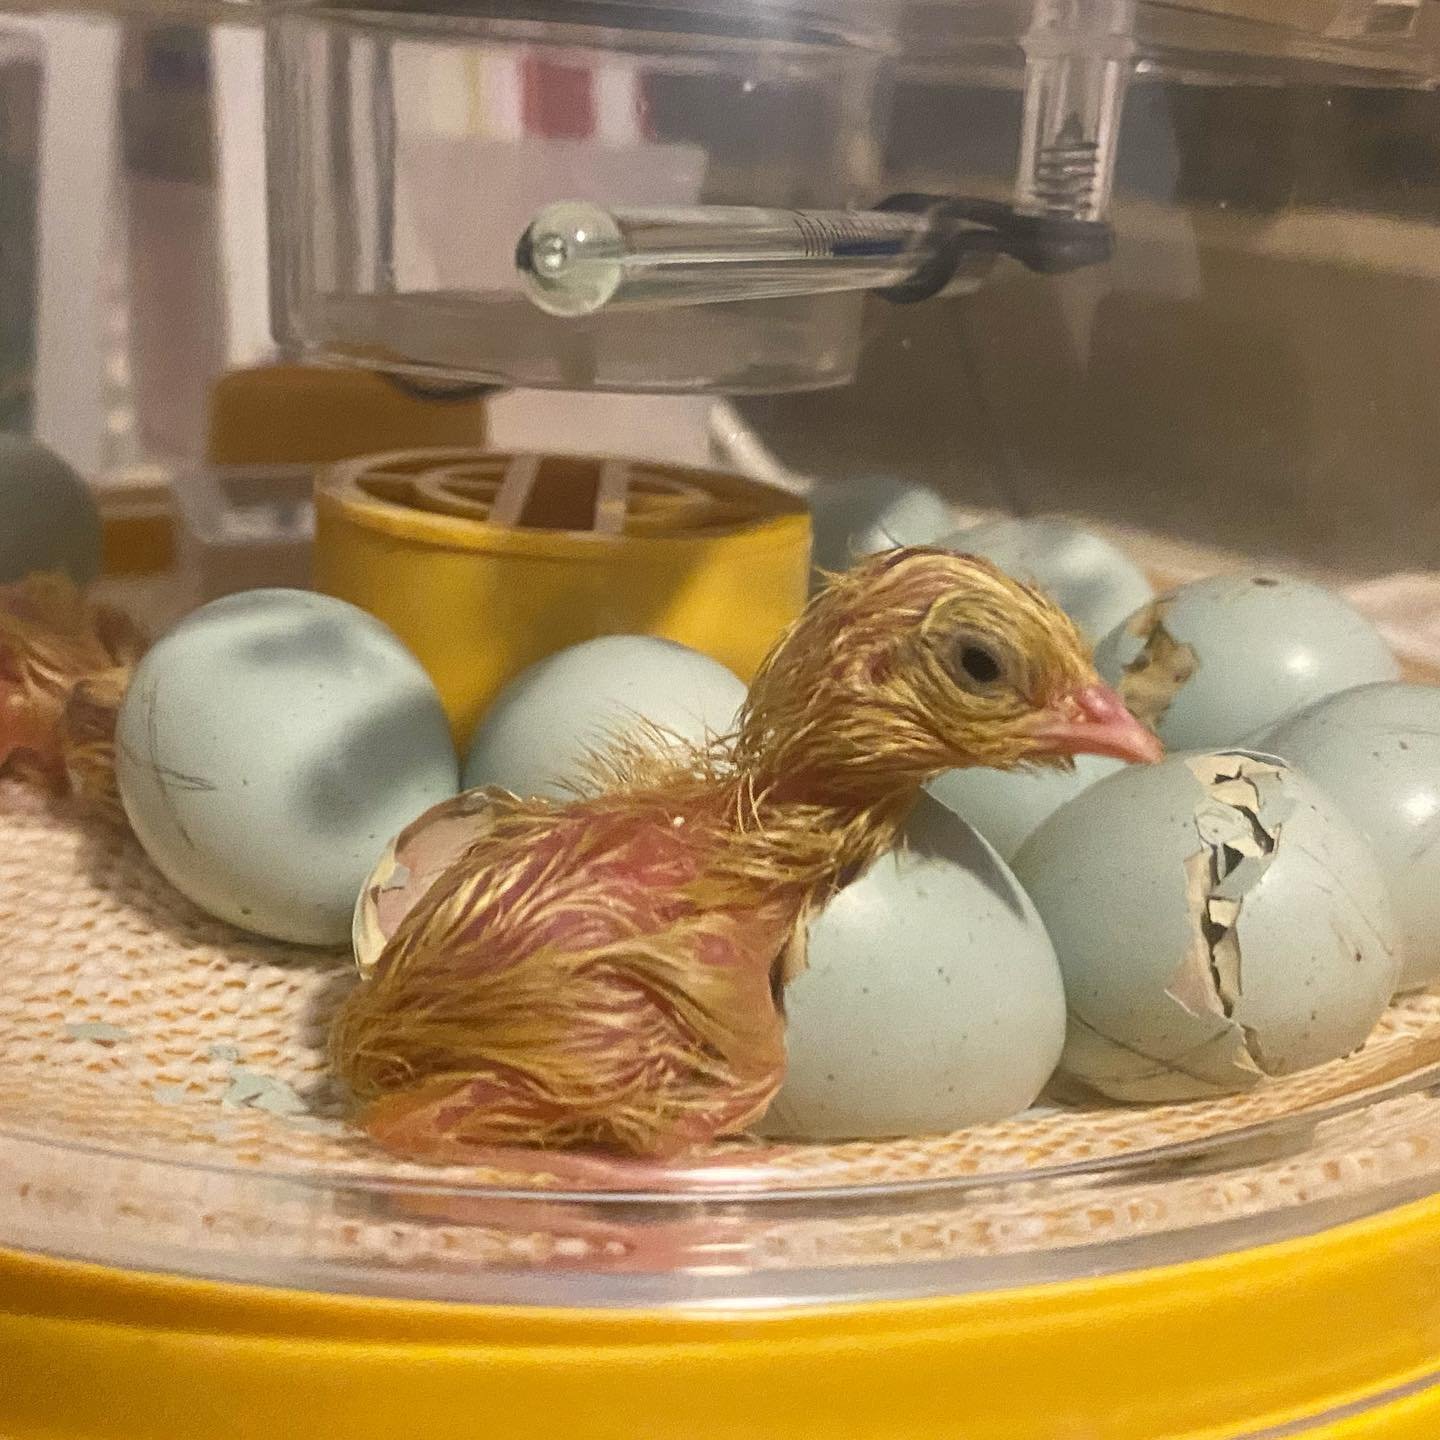
This piping and zipping process is quick but sometimes extended.
You might get an urge to open the incubator and help the chicks come out when they struggle with zipping. Don’t worry; they are healthy and hardy to face such incidents.
You can expect chirping, movement inside the egg, and external pipping as the hatching signs at day 18.
Timeline of hatching: External pip (first crack) → Rest period → Zipping (breaking shell) → Hatch.
Once chicks completely emerge from the shells, allow them to be clean and dry or fluffy. It can take 12 – 24 hours.
Then, open the incubator quickly and move the hatched chicks to the brooder. You need to remove a few chicks from the batch as others have still been popping out and drying.
It’s not mandatory that quail eggs take only 18 days. Sometimes, it can extend to one or two. So, I prefer to wait for at least 12 hours.
If there is no sign of hatching by that time, I switch off the incubators and discard the eggs.
Then, you need to clean the device and all components. The solution of 1:10 bleach/water can be an ideal solution for sanitizing.
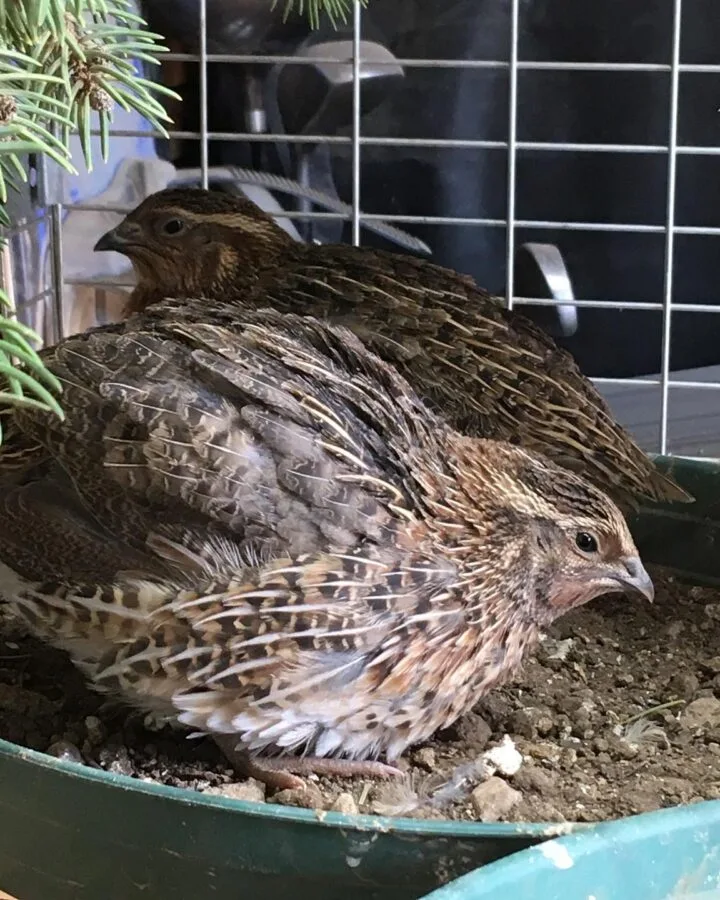
Instructions to Take Care of Newborn Quail Chicks
Keepers need to prepare the brooder 1 – 2 days before hatching chicks.
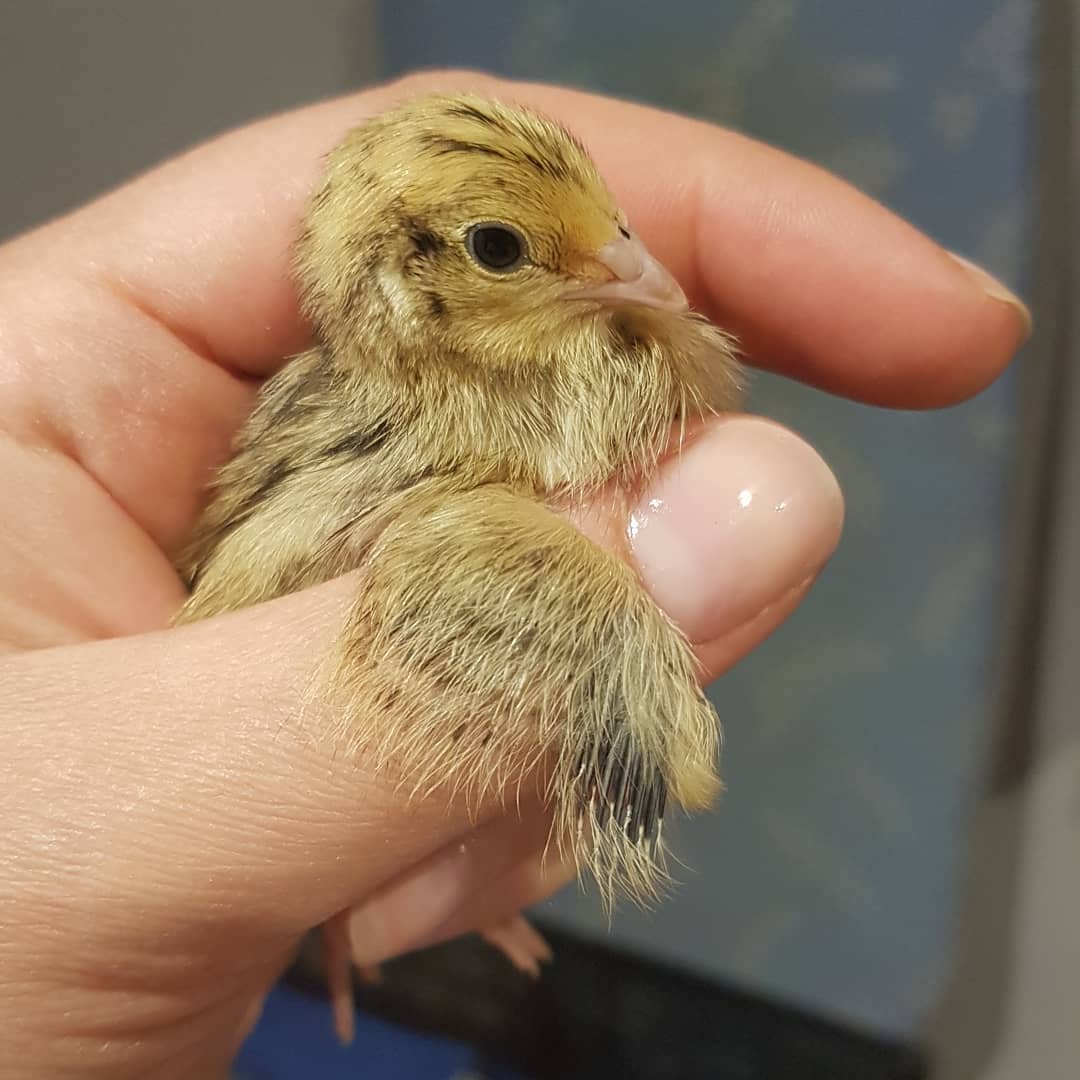
- Move newly born chicks to a brooder with proper warmth (95°F/35°C in the first week). Then, you can decrease the temperature by 3°C each week.
- Facilitate with a heat lamp or heat plate to trap an ideal temperature.
- Provide a chick starter feed and shallow water dishes. Starter feed with 28-30% protein is ideal for rapid growth.
- The large food particles are crushed for the first few days. Coffee grinders or blenders and mortars can work well for fine ground.
(Note: Baby quails grow quickly. Once they are a week older, you can offer them regular-sized chick feeders. Also, the crumbles do not need to be mashed finer.)
- Keepers can also use shallow dishes or marbles in water to prevent chicks from drowning.
- Keep the brooder dry and clean and replace the bedding if needed.
- Remove the heat facility once the birds reach their 4th week.
- Also, change protein quantity to 18-22% for gamebirds after 7-8 weeks.
Final Thoughts
Many experienced quail keepers hatch eggs without incubators. They make a temporary system using a heat pad, dish towel, bulb, closed box, and water container.
But the hard thing is to maintain the temperature and humidity.
I find that poor hatch rates are caused by the wrong temperature, humidity issues, and bad eggs. So, if you’re a beginner, you need to follow the steps above.


Leave a Reply