Processing sheep wool, especially at home, helps your farm animals grow healthy in summer and encourages you to raise more sheep, contributing to sustainability.
You can use the processed wool for several purposes, such as crafts, clothing, and insulation.
So, I am here to inform you how to process the sheep wool at home with step-by-step instructions for beginners.
Preparing for Wool Processing
Merino, debouillet, rambouillet, cormo, and comeback are some popular breeds raised for wool.
But before you begin wool processing, you need to select the right ship wool. You have options: fine wools, medium wools, long wools, down or down-like wools, or primitive and double-coated wools.
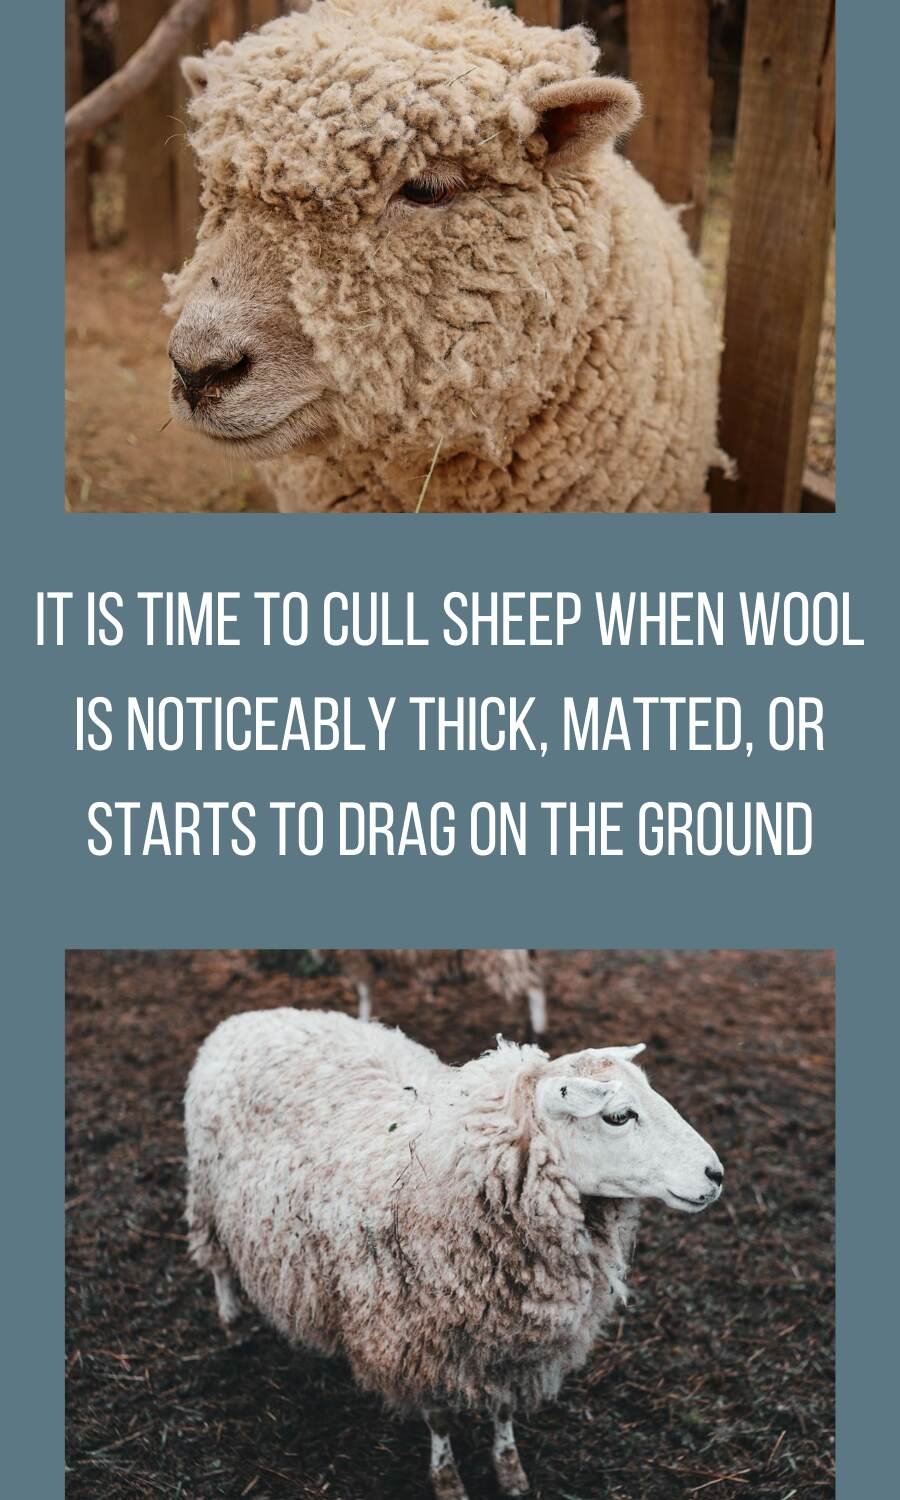
You can cull the sheep if you find irregular crimp, harsh handling, and coarse fibers.
Check if the yolk is white or light cream in color, spreading all over the fleece. The lack of yolk suggests that the fleece is dry and weathered, while excess yolk can cause yellow wool.
Fleece cover is another factor that helps determine the processing of sheep wool.
If you notice short wool or watery staple formations and poor density of wool, it is the right time to cull. You can also calculate it from the previous shedding.
Repeat the same supervision for belly wool and confirm with a creeping belly or very short and watery fleece.
You can harvest the wool if the sheep wool is more robust than 27 microns.
Tools and Supplies Needed:
- Shearing Tools: Hand Shears or Electric Clippers
- Cleaning Tools: Large Wash Tubs or Buckets, Mild Detergent or Wool Soap, and.Mesh Drying Rack
- Skirting and Sorting Tools: Skirting Table or Large Flat Surface
- Carding Tools: Hand Carders and Drum Carders (optional)
- Spinning Tool: Drop Spindle and Spinning Wheel (optional)
- Cutting and Crafting Tools: Scissors or Snips
- Storage Supplies: Bags or Containers, Cedar Blocks or Sachets
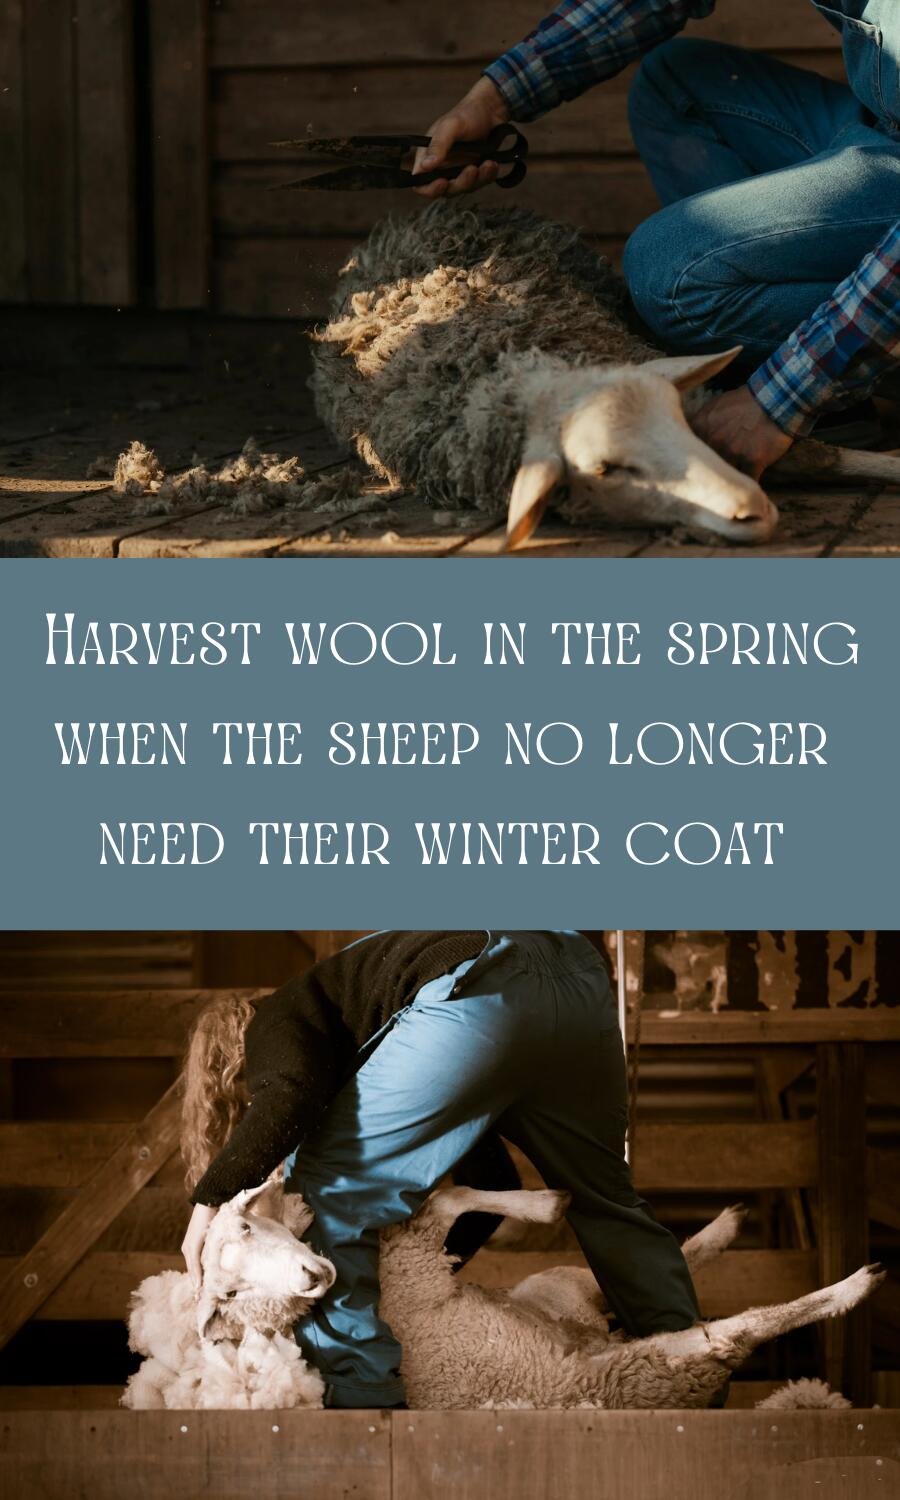
Shedding the Fleece
I suggest using electric clippers to shear the sheep. You only need to direct the Clippers without any extra effort.
First, make a sheep sit properly and remove the fleece from the breastbone and tummy, the inner part and between the legs, and around the teats.
Then, move the shears around the left rear leg, from the sheep buttock to the tail, and all the way to the spine.
You can change the sitting or lying posture of sheep for your ease. And begin shearing the neck, head, and left shoulder.
When sheep’s feet or legs aren’t touching the floor, make long cuts along the side and back.
Next, target the remaining wool on the head and the right shoulder. Finally, you can finish shearing the fleece with the hip and rump.
Skirting and Sorting the Fleece
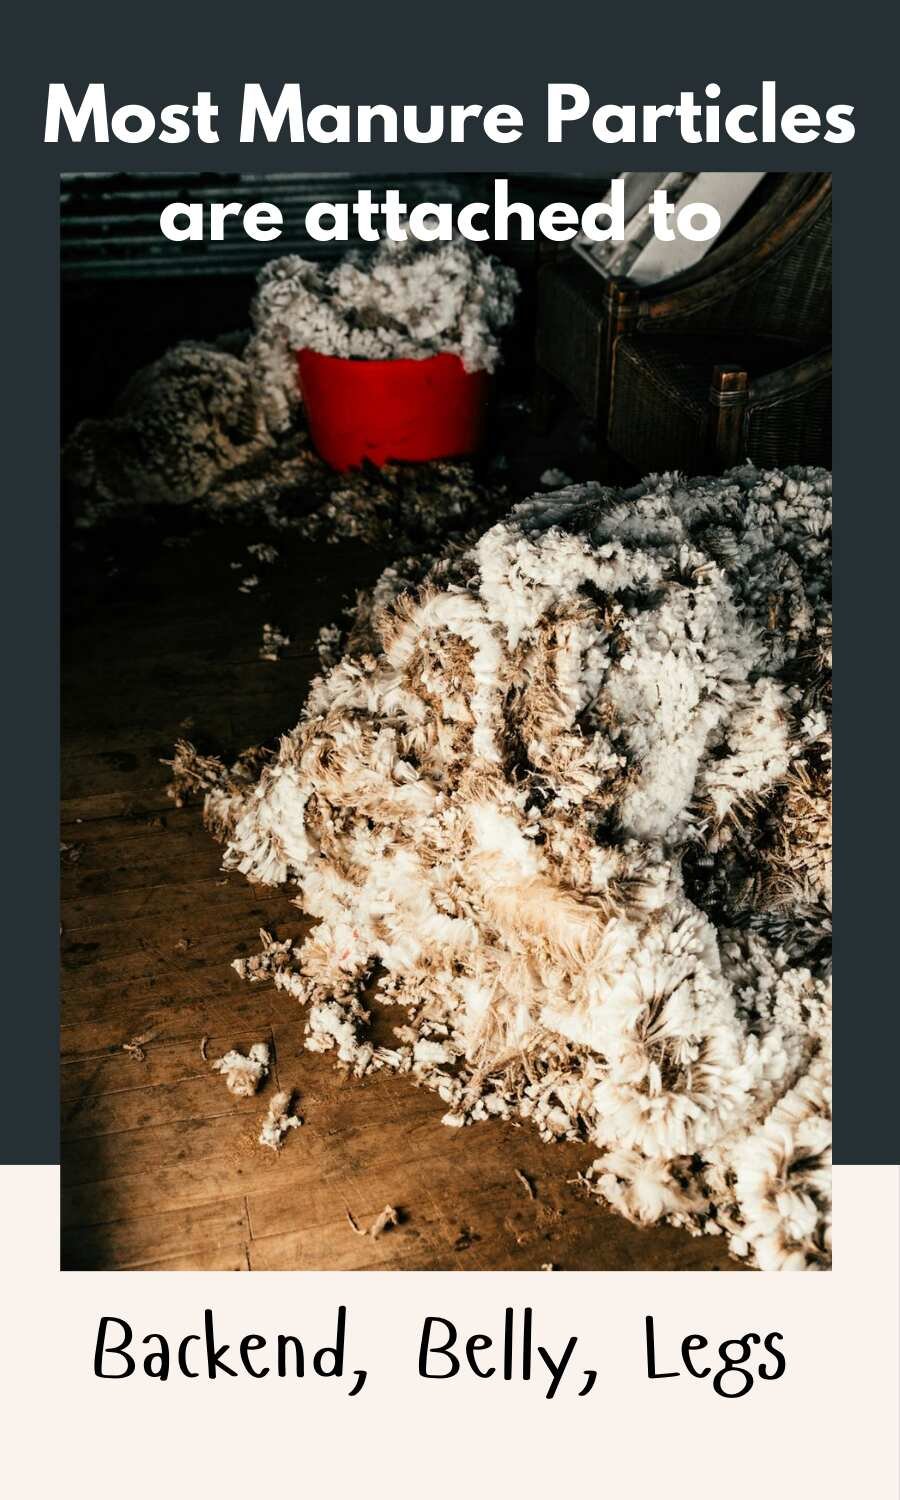
In processing sheep wool, skirting means removing debris such as hay, bird droppings, bedding, grain, manure tags, and mud.
Add removing unusable wool to this process. You can either skirt by hands, which look satisfying or use a skirting table for saving time and effort.
But you can try both for a single fleece whenever you need.
- Once the fleece is sheared, first you need to lay the fleece out on the table with a position of neck and head face placing upwards.
- Then, walk through it for noticeable debris.
- You can remove the belly and leg wool that looks dirty for other purposes. Also, keep all breech wool in the leg area aside.
- Remove crayon markings, manure tags, and any leftover debris in folded parts of the fleece.
- Look for tiny black curls from the base of their neck, which are also not suitable for clothing.
- Separate any short strands, second cuts, and other inconsistencies.
Repeat all these steps to the inner part of the fleece. Once you’re done, refold the fleece.
Now, you need to sort or grade the wool to separate coarse wool from finer fibers, grouping wool by color or texture.
You can grade the wool using three systems: Blood System, Count System, and Micron System.
Washing the Wool (Scouring)
Scouring the wool is necessary to remove dirt, lanolin, suint, grease, unnatural color, and other impurities from raw wool.
I prefer to wash the fleece or skirted and sorted wool outdoors during the warm day.
Step-by-Step Washing Process:
- Prepare water at 120- 140 degrees Fahrenheit, depending on the hardiness of contaminants, and pour it into the container.
- Use the scouring powder in the recommended amount. 2 tablespoons per 1 pound of wool is fine, but you can increase it according to your need.
- Let the raw wool soak for 15-20 minutes.
- Remove the lid and drain using your hands or other available tools. Don’t try to squish and wring the wool.
- Rinse the wool and continue running the water until the soapy or milky water stops dropping.
- Now, spread the wool on the skirting table and fluff and cover it with a thin cloth.
- Rotate the wool to ensure it is completely dry.
You can presoak for 24 hours before the washing day. Also, repeat the scouring process twice if you’re not satisfied with the first rinse.

Don’t use a washing machine with wool instantly.
If air drying is not enough, you can use a dehumidifier. You can also dry the wool on a mesh sweater dryer or rack under the the sun. But avoid hot air.
Carding or Roving Wool
Carding or combing wool allows fibers to be clean, untangled, and aligned in one straight direction, making it easier to spin smoothly.
There are two ways to card the wool: manual carding and drum carding. Drum carder is a tabletop device used for a large amount of wool in the textile industry to process different types of fibers.
However, manual or hand carders include two wooden paddles covered with wire teeth used for small amounts of wool, preferably for beginners.
How to card wool step-by-step using hand carders:
- Hold a pair of carders on each hand with the teeth, one facing downward and another downward.
- Take a first lock and drag it upward through the teeth, with the tip spreading past the edge of the carder.
- Now, fill the carders with more locks and run the teeth one another, brushing the locks outward.
- Brush the tip when you notice fibers spreading out in the lock formation.
- When the fibers attach to both carders, brush backward.
- Rub your right-handed carder toward the end of the left-handed one to create a wool batt.
- Finally, you can pull out the smoother, longer fibers from the carder.
After carding, there comes a roving, which includes making long and narrow fiber bundles from carded wool.
You can complete this process by pulling the yarn through the lid of a water jar or anything that has a bit long and narrow lid. The holes in a wood spatula also work for the same, or you can find other small circle devices.
Or you can also directly jump into spinning the wool to continue processing sheep wool.
Spinning the Wool into Yarn
Spinning the wool into yarn turns raw fabrics into knitting fabrics, which can be used to create clothing and other textile items.
For various purposes, you can weave sweaters, winter caps, socks, and other crafts.
There are two ways to spin wool: using a spinning wheel and hand spinning. If you have inherited antique-designed spinning wheels, congratulations! They will save you time and money.
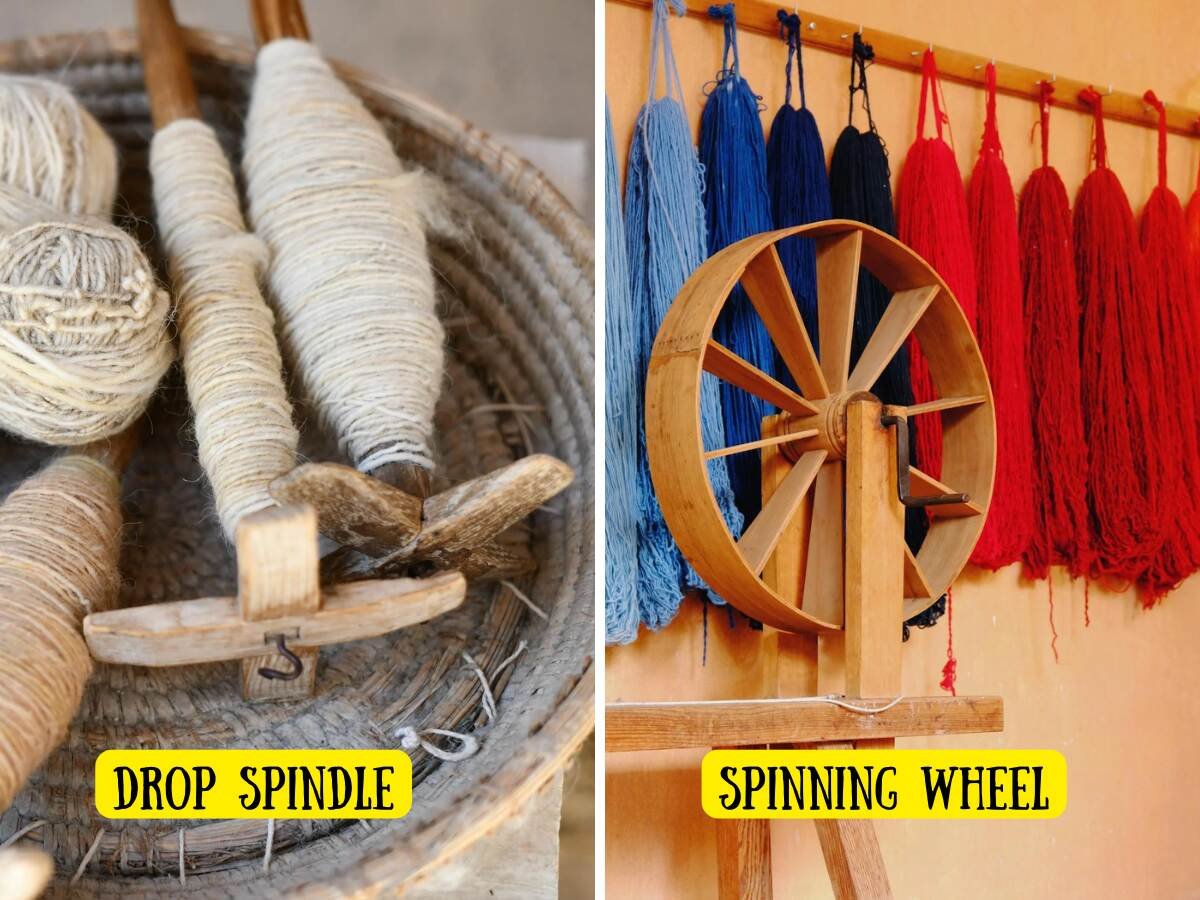
However, if you have nothing to spin, buy an affordable drop spindle, which can also be easy to use for beginners.
Spinning via Spindle
- Take a lengthy yarn and tie it into the loop and then to the spindle shaft.
- After making a leader, bring it up to the hook.
- Fold the end of the roving into the leader and tuck back the edge covering along the spinning fiber.
- Mine has a long shaft so I roll it along my legs and spin the whorl in a clockwise direction. You can also do the same.
- I often use the park-and-draft method, in which I hold the spindle with my knees to prevent the twist.
- If you notice the twist going up the fiber, hold it back by tweaking the fiber with one hand and pull it back from the tweaking place.
- Also, slide your tweaked fingers back at the end of the fiber and continue sliding to make an extended turret twist into the fiber.
- Keep on doing it until the twist ends up disturbing.
- Once you have enough yarn after spinning, you can wind it onto the spindle, making a cop.
- Now, wrap the yarn around the shaft and leave a few inches of length for the next spinning session.
Storing or Using Processed Wool
You need to use breathable bags like cotton to store spun wool. This helps air flow while keeping wool safe from dust, pests, and moisture.
If you have only option as plastic bags, don’t wrap or close them tightly. This may avoid trapping moisture and encouraging the mildew or mold growth.

To prevent pests, you can also place natural moth repellents, including cedar chips, lavender sachets, and rosemary.
Also, store the wool in a cool, dry place.
Besides, you can use the spun wool instantly for projects like knitting, felting, or weaving. Processed wool can also be sold for profit.
Final Thoughts
Processing sheep wool includes shedding fleece, skirting, scouring, picking, dyeing, carding, roving, spinning, and storing.
Though it may look lengthy now, you will master all these skills after a few practices.
I like babydoll wool, which is naturally crimped and elastic. So, I have raised some animals from the same breed. Drop your experience about this.


Leave a Reply