I have a few cold composting piles along with hot ones. At least 2 on each side of my backyard, which helps me keep separate composts for smalls and bigs to use for one and wait for another.
I throw my kitchen and garden waste there and forget about it for a few months.
While many believe composting is simply a decomposition process and that there is no such thing as cold or hot, I have still prepared a guide to help beginners get started with cold composting.
What is Cold Composting?
Unlike other types, cold composting is a passive or leisure composting method. Many often refer to it as lazy composting, as you need not turn layers, fork the piles, or monitor the temperature.
Also, you don’t have to bother layering the piles like hot composts.
You just throw the waste and let nature work its magic. The microorganisms emerge there to help break down the materials, so your job is to give them an ambient environment and debris and scraps.
Cold composting is a relatively slow process, taking anywhere from 6 months and 12 months to 2 years. My routine is to take out the compost every 6 – 8 months.
That depends on pile size, climate, materials used, and moisture.
But don’t worry, you needn’t wait for the whole pile to decompose at once. The bottom decomposes first, so you can start scooping from there and let the rest of the pile work on its own.

You can use the cold compost progressively.
Although it takes longer than hot composting, it can produce better humus. Humus is the rich, dark substance and final result of composting.
As the name suggests, cold composting is not limited to cold climates or winter. It is a year-round process that also works in the winter, but it is even slower.
So, don’t expect a fast result. To accelerate the process, you need to insulate the pile with leaves or straw and keep adding scraps.
All composting types are likely to be cold compost by default unless you put effort into changing the methods or techniques to work differently and produce humus.
If you control the factors that raise the pile’s temperature, that’s called hot composting, which is beneficial for eliminating seeds, pathogens, and diseases, and many gardeners and homesteaders like it for the same reason.
Cold Composting vs Hot Composting
My primary source of compost comes from hot composting, which I work on from spring to autumn, when I find a nice mix of waste to add to the pile.
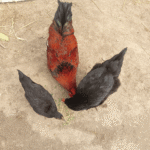
I don’t usually do it on purpose. Still, my kitchen, garden, and animal shelter provide the right ingredients to heat up the pile and make it hot compost. (Let’s see how I compost my chicken manure)
Then I start a new batch of cold compost from late autumn to early spring, when I have fewer scraps and leaves to add.
There, I have always had a warm bin for vermicomposting. It works more as a top dressing and fertiliser for my vegetables and houseplants than just as compost.
Thanks to my mini forest on my homestead, I get a leaf mould pile every year, which is left to its own devices. You need to dip into it if you need extra browns and some much.
The wood chip pile also works great for composting, but I mostly use it around the walkways between the livestock’s bedding.
Wait! I have a composting poll results from more than 700 homesteaders.

Hot Composting
Hot composting is a type that works on a big pile or a large amount of compostable material (3′ x 3′ x 3′). It produces faster results through a rise in temperature.
But you can throw the piles on the ground or into a container. Both ways work well.
For this method, you need to store browns and greens in bulk and create a pile all at once. It’s not like add-as-you-go.
To make it work effectively, the carbon-to-nitrogen ratio is vital. So, add the materials as close as possible to a 30:1.
Thus, the pile should reach a temperature between 130°F and 160°F for days and weeks. The high heat boosts the composting process and destroys weed seeds and pathogens.
There are thermophilic bacteria that love heat, live in the pile, and decompose the stuff faster.
But it can be hard for people with small households or yards to do hot compost, as they need a large volume of compostable materials and a large space for the compost pile or bin.
Cold Composting
Cold composting, on the other hand, is more like what happens in nature, which takes time. It’s a slower process, but the result is more satisfactory.
While cold compost is a low-maintenance, easy-to-manage method, you need to be patient, as it may take a few months to a couple of years to finish.
It’s like you just throw the stuff in the corner and forget about it. Sounds lazy, eight?
But here is a thing. When you allow things to decompose naturally, you get better final compost (humus), which can’t be achieved by raising the pile’s temperature.
Cold composting hosts a community of different microorganisms to work on the pile. Fungi, especially saprophytic fungi, as well as actinomycetes and mesophilic bacteria, grow in the environment.
Not only do these organisms break down the matter, but they also turn it into the stable, rich, dark, crumbly, and sweet-smelling humus.
Cold Composting Benefits
Beginner Friendly
If you’re a busy homesteader or gardener, cold composting can fit your priorities. It is a decomposition process that occurs when organic matter lies around and functions on its own.
Not only is cold composting beginner-friendly, but it is also space-efficient. You can start with the small, single compost bin. I suggest you take Geobin for a good result.
You need not a 3-chamber setup or multiple separate compartments. It’s easy to do in the 4X3 setup, or you can arrange it on your balcony with the bin (but that’s your choice).
Low Maintainance
Composting is simply burying scraps and waste, whether whole or blended. While things decompose over time, they like to rot due to oxygen blockage or penetration underground.
If you have plants or vegetable crops around your composting pile, it can spread root rot.
Cold composting is a whole different narrative. It’s a very forgiving, low-effort alternative that requires very little from you but rewards you with high-quality compost for your backyard garden.
Cold composting provides a perfect environment for worms, bacteria, beetles, and countless other microscopic organisms that break down the pile.
Earthworms, millipedes, wood lice, and a group of microscopic organisms populate the heap and tunnel, digest and transform the waste into humus.
So, your job is to put the right ingredients together and step back.
Also, the weed seeds either rot away or the compost creatures will consume them over the course of time.
If the pile is too wet, the worms simply migrate to the drier layers, and they burrow deeper if the pile gets too dry to find some moisture. Don’t worry, the ecosystem in the compost pile is self-regulatory.
Better Humus
Humus is different from what you’re thinking, or compost. While compost is partially decomposed waste or organic matter that still has visible bits and pieces, humus is the final product of complete decomposition.
It is the lifeblood of soil, a complex substance rich in nutrients and capable of holding ample water.
So, it can improve soil structure, turning heavy clay soils into well-draining soils and sandy soils into quality soils that retain more moisture and nutrients.
What You Can Put in a Cold Compost Pile
You need to be selective when it comes to adding to the compost pile. While hot pile needs a strict ratio, cold compost is flexible to follow. Only make sure you put roughly twice as much browns as greens.
But don’t get bogged down in checking and measuring everything perfectly.
Green Materials (Nitrogen-Rich)
- Kitchen scraps
- Fresh grass clippings
- Vegetable peels
- Coffee grounds
- Young weed growth
- Manure (aged or small amounts)
Brown Materials (Carbon-Rich)
- Dry leaves
- Straw
- Shredded cardboard
- Wood chips (limited)
- Straw
- Small twigs
What NOT to Add to Cold Compost
- Meat and dairy
- Oils and fats
- Diseased plants (roses with black spot or blighted potato foliage)
- Roots of pernicious perennial weeds like bindweed and ground elder
- Pet waste
These can add pest and odor concerns to the compost pile. But cold composting is a slow-maturing method that can neutralize the effects of annual weeds and general garden trimmings over time.
How to Start a Cold Compost Pile (Step-by-Step)
Step 1. Choose a location
Find a spot in your backyard garden or yard that is out of the way but still easy to access.
Make sure an area receives partial shade, as you don’t want your pile to dry out too quickly in the spring and summer. I often start my piles right at the edge of my vegetable garden, tucked behind some shrubs.
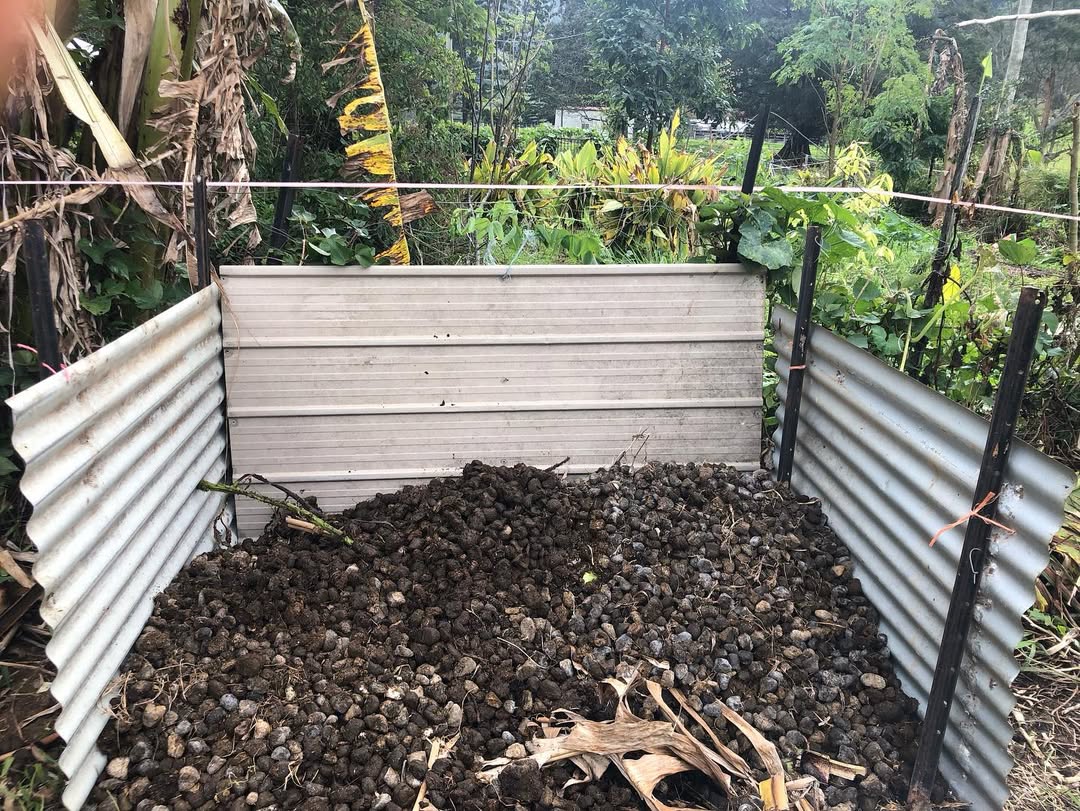
Step 2. Pick a compost bin or open pile
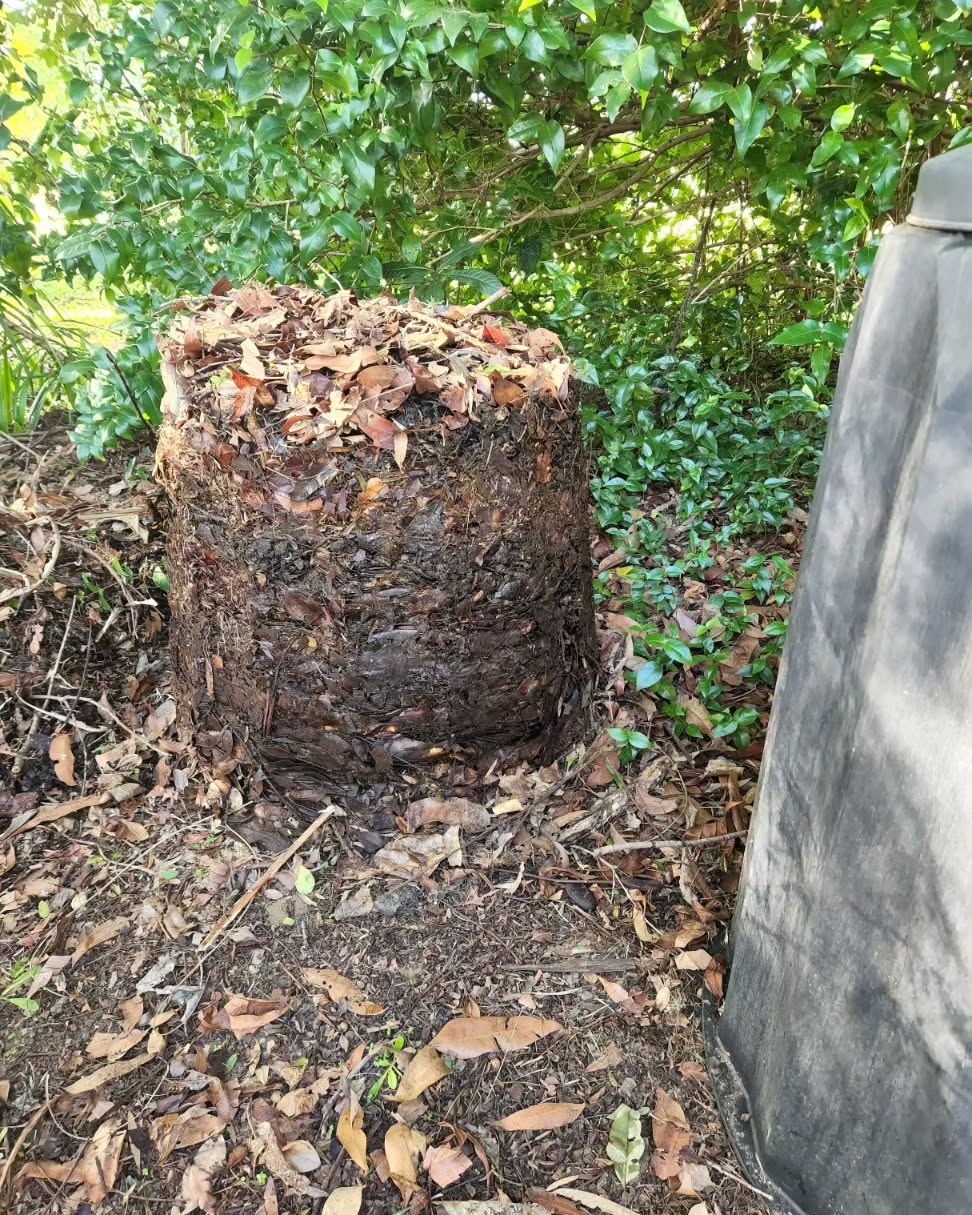
You don’t require fancy bins with thermometers and a complex 3-bin system. My simple approach is to work with a wire mesh cylinder.
You can also use wooden pallets formed into a square, or just throw a pile, directly on the ground.
Whatever you use, make sure it touches the ground or soil so that worms and microorganisms can move in and out of the pile easily.
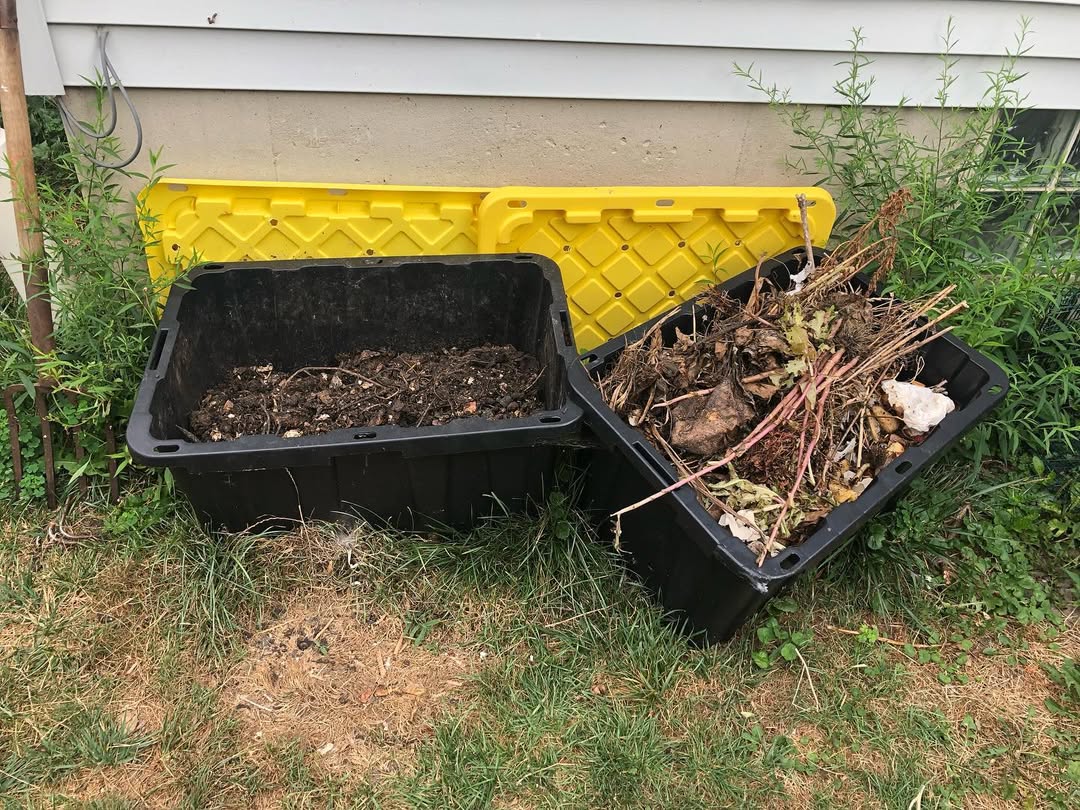
Step 3. Start adding materials
As you generate waste, you can add it to the compost area or bin. Start with a thick layer of brown materials, such as small tree branches or crumpled cardboard, at the bottom.
This helps allow air circulation from the outset. Then, add the first layer of greens like the contents of your kitchen caddy, or fresh grass clippings.
After this, cover the layer of greens with a layer of brown materials, including dry leaves or torn-up newspaper, shredded cardboard, or wood chips.
Repeat this pattern every time you add the waste to the pile until the bin is full or the pile is complete.
This helps prevent the pile from getting slimy and smelly. It also deters flies and provides environmental enrichment to encourage fungal growth.
Over time, you can witness a pile made of only glass clippings and cardboard finally decompose.
But a pile that includes autumn leaves, vegetable peelings, hedge trimmings,
used tea bags, and the contents of the vacuum cleaner bag help create a dynamic ecosystem, as each ingredient brings its own properties and nutrients.
Step 4. Cover and let nature work
Once the pile is full, I cover it nicely as I don’t want the sun to heat it, rain to make it soggy, and juice to leach out.
You can use a tarp or any other material that works. And leave it alone to mature.
During the period, you don’t do anything like turning, monitoring, or weekend labor.
Usually, I maintain three piles in rotation. One pile, where I actively add waste, a second one for aging undisturbed, and the last one would be ready to use.
This not only helps manage your waste on the homestead, but you can also use the compost in your garden without running out.
Anyway, your recently completed pile sits there for a year or more, but you can use it from the bottom after six months.
How to Use Finished Cold Compost
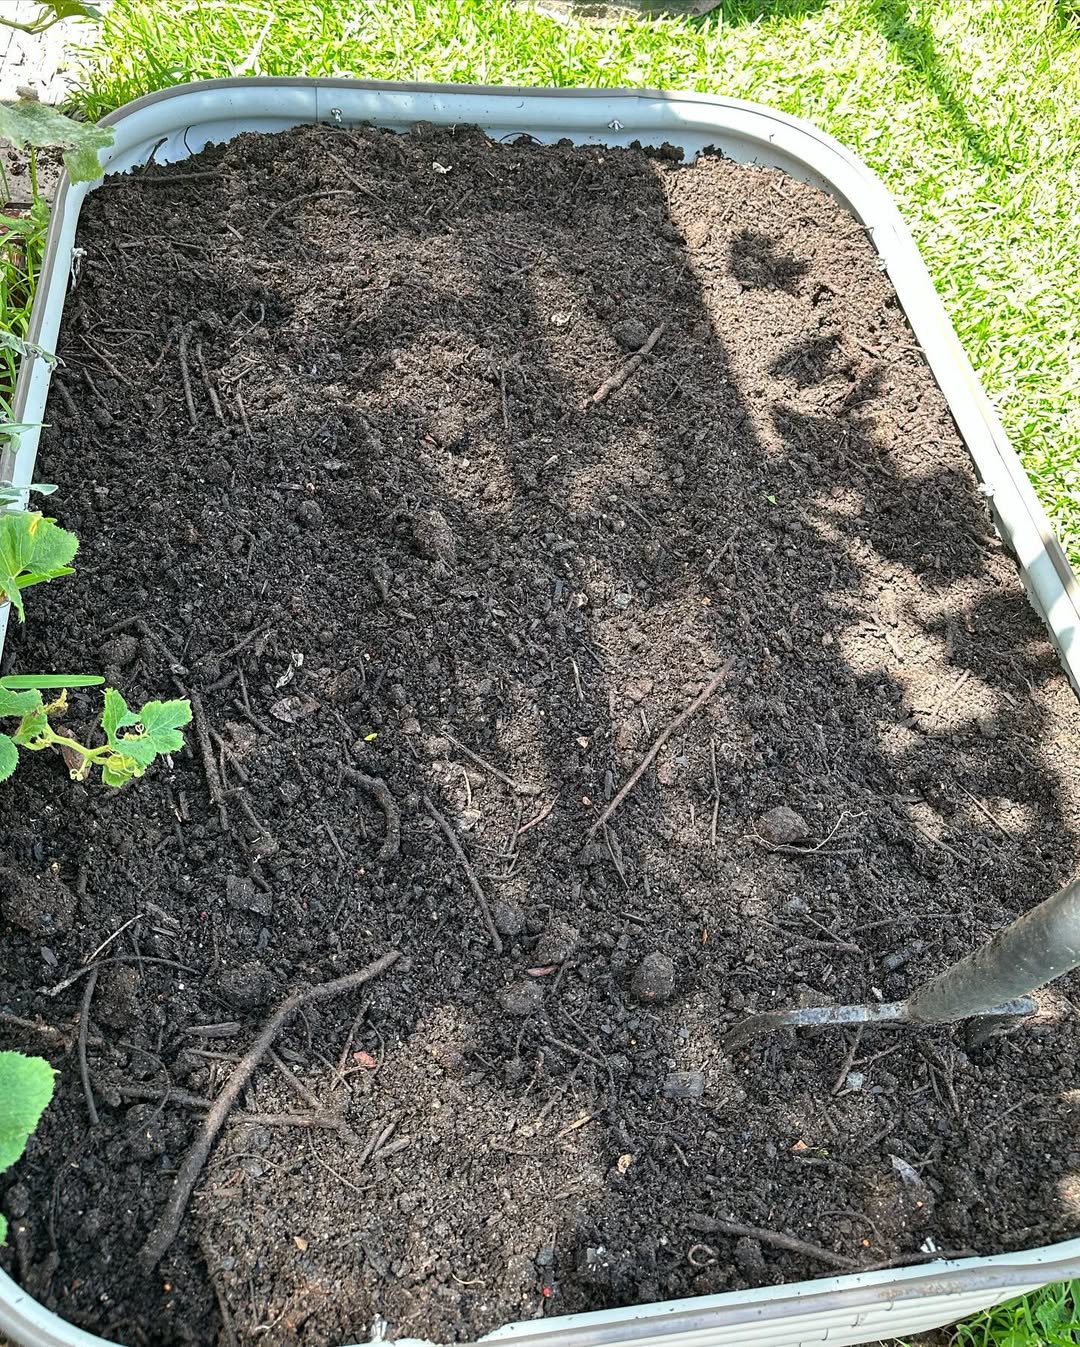
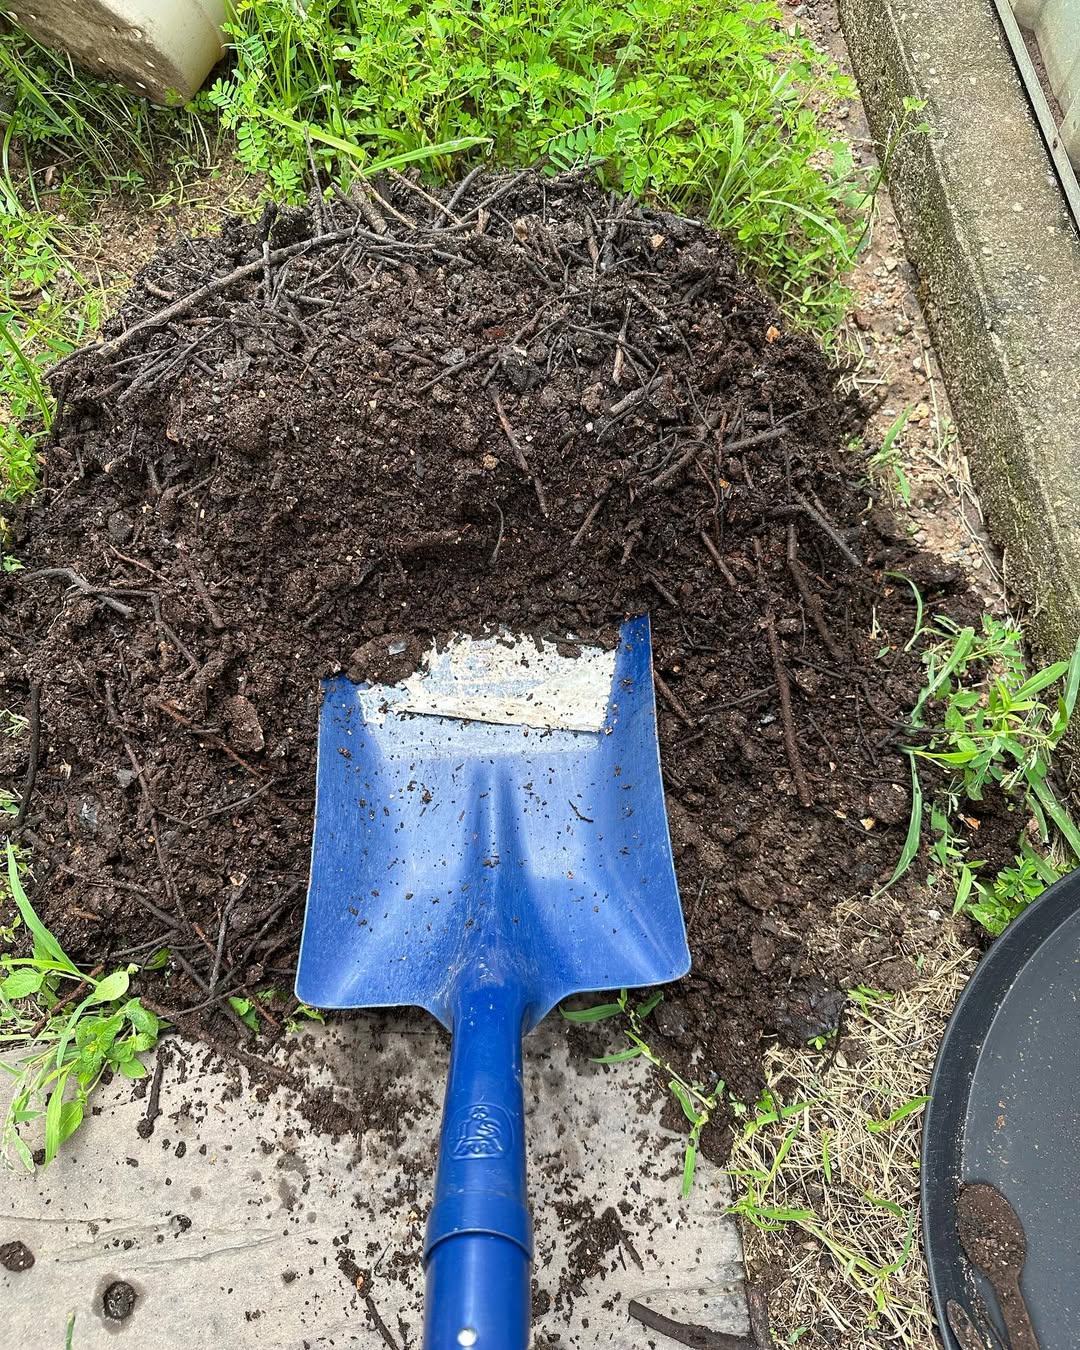
You can harvest the finished and high-quality compost from the bottom while the top pile is still decomposing, and there are compost bins with a handy hatch at the base for the same purpose.
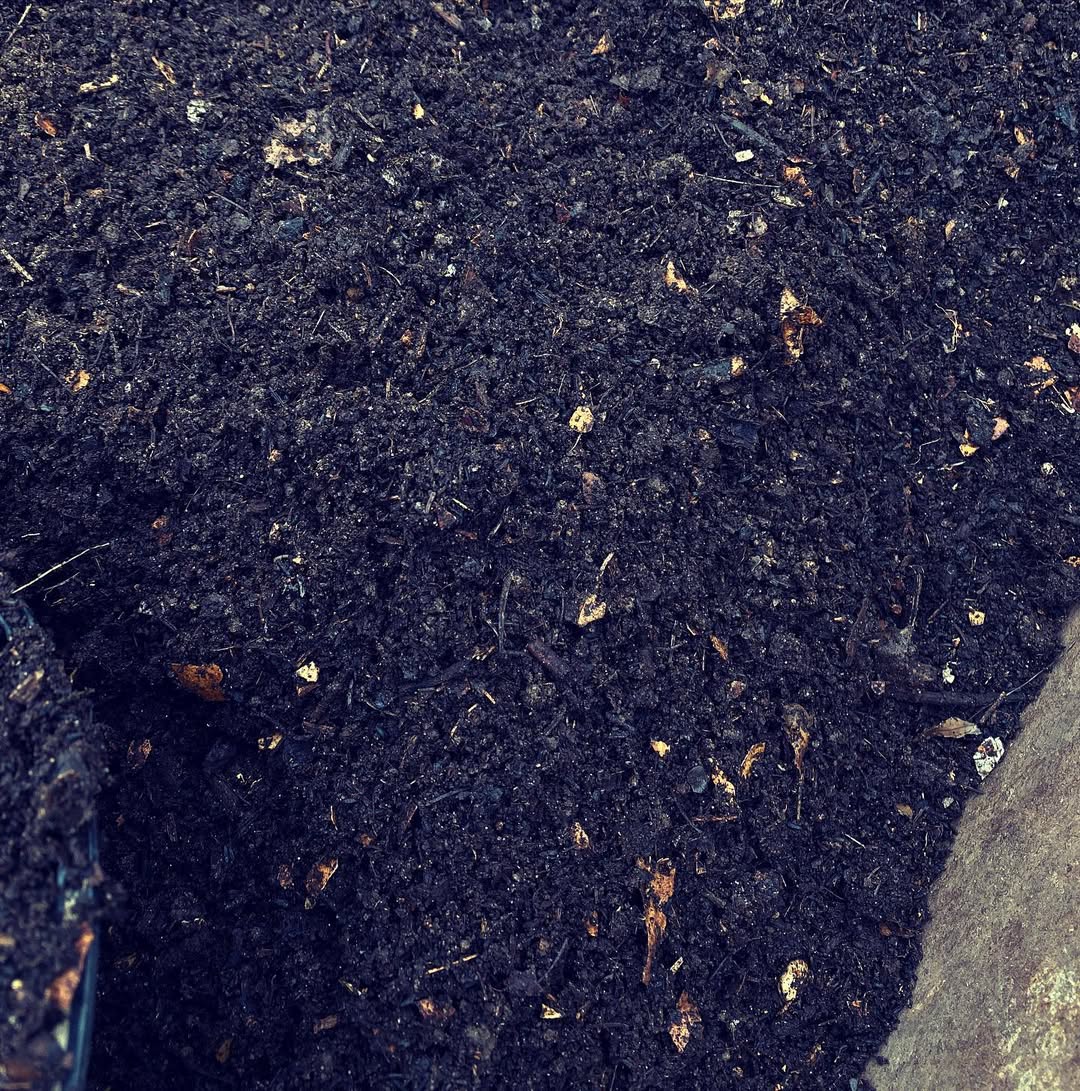
So, you need to open it up and scoop out the decomposed compost. You can tell it by dark brown or black humus, which smells earthy like a forest floor, and it has a fine, friable texture.
The worms also indicate that your compost is ready to use. When you put it on the soil, these worms and bugs provide a healthy snack for the birds visiting the garden.
If you spread your compost in your garden during fall or winter, the bugs and insects will disperse it.
I don’t till humus or final compost directly into my backyard gardens. Instead, I use it with a plan. For vegetables like tomatoes, peppers, and other heavy feeders, I throw a handful in each transplant hole.
If you’re preparing new beds for vegetables and annuals, spread a 2- to 3-inch layer over the ground and gently fork it into the top few inches of the soil.
Another strategy is to make a thin layer of compost around the base of perennials, shrubs, and trees. Make sure you keep it clear of the main stem or trunk.
This helps suppress weeds and insulate the plant roots from extreme temperatures. And worms and rain work to compost the soil, and it slowly feeds the plant for many months.
You can also mix 1/3 humus with 2/3 potting soil for container plants.
Or mix 1 part humus, 1 part loam, or good-quality topsoil, and 1 part sharp sand or perlite for drainage, and report your houseplants.
This helps create a rich, moisture-retentive, well-draining potting mix that can sustain your houseplants throughout the season, reducing the requirement for liquid fertilizer.
It also serves the lawn growth, but make sure you allow only thin layers.
Extra Cold Composting Tips
- Add a spade full of already-finished compost from an old pile or some rich garden soil to the base of the bare new pile. Now, your pile has a ready-made population of worms, bacteria, and fungi to activate and boost the process.
- You can also add well-rotted manure from herbivores such as cows and horses for the same purpose.
- Keep the layer of greens, such as grass clippings, thin in the pile. If not, your pile will turn into a slimy anaerobic mat that will slow down the decomposition.
- Maintaining alternating thin layers of greens with slightly thick layers of browns helps ensure a good air flow and moisture in the pile.
- Chop scraps smaller. The smaller the ingredient pieces, the faster they decompose.
- If you feel the pile is too dry during a long, hot spell, water it lightly. It should feel damp like a rung-out sponge, but avoid making it water-logged and soaking wet.
Final Thoughts
Switching to cold composting requires patience, especially if you’re used to getting quick compost harvests.
This is great for small and rural homesteaders and those with low household volume who generate limited waste or scrap.
If you own livestock and a backyard garden, you can separate hot composting for manure and cold composting for kitchen waste with garden scraps on both.


Leave a Reply